Google Chrome was released in late 2008 for Microsoft Windows. The first thing everyone said about the new browser was that it was very fast. Google released the majority of source code (not all components) as the Chromium open-source project, so the Open Source version of Chrome is Chromiun browser.
About two years later (in mid-2010) Google released the first stable version for Linux. Since then I am a Chrome user (on my Linux Desktop and later on my Android mobile devices). Because Chrome is fast, offers a great Javascript engine and all Google services I use (Gmail, Google Drive and more) are supported better with Chrome.
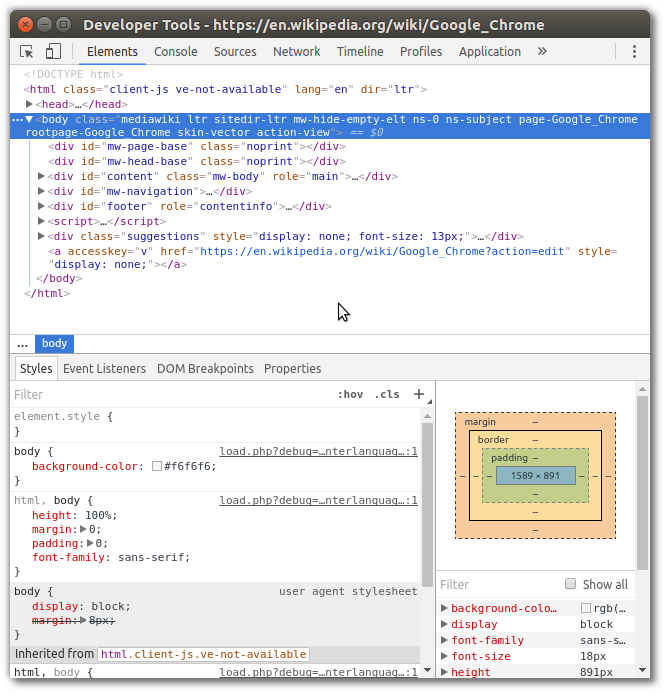
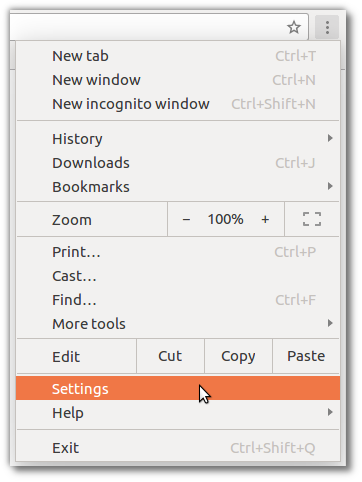
One of the best features of Chrome (actually, only for web developers) is Chrome Developer Tools (web authoring and debugging tool). You can access it using CTRL+SHIFT+I or directly at an element of the web page using “Right Click → Inspect” or from the menu:
Before I switched to Chrome I used Firebug for web debugging, an excellent add-on for Firefox.
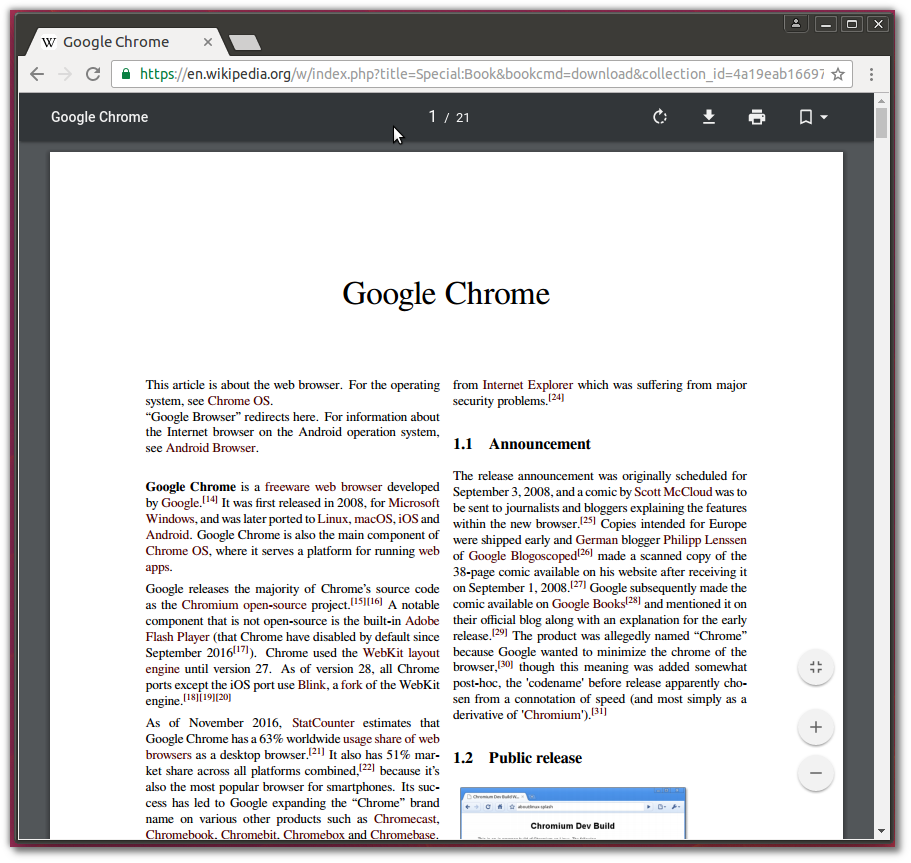
Google Chrome has very regular updates. See version history here. Today Google Chrome has a 63% worldwide usage share of web browsers as a desktop browser:
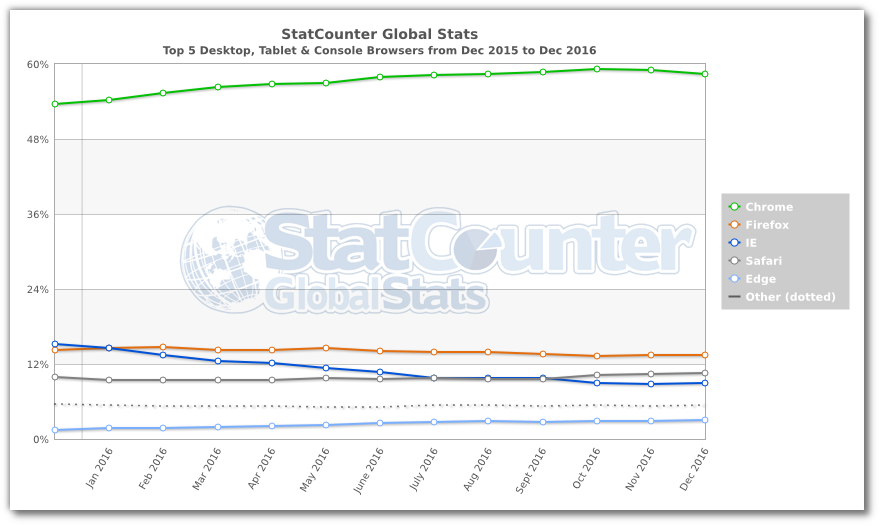
Source: StatCounter Global Stats – Browser Market Share
Chrome VS Chromium – What is the difference
Google Chrome comes with an integrated PPAPI version of Adobe Flash Player and much more Media codecs than Chromium. However, you can install them to Chromium, if you need them.
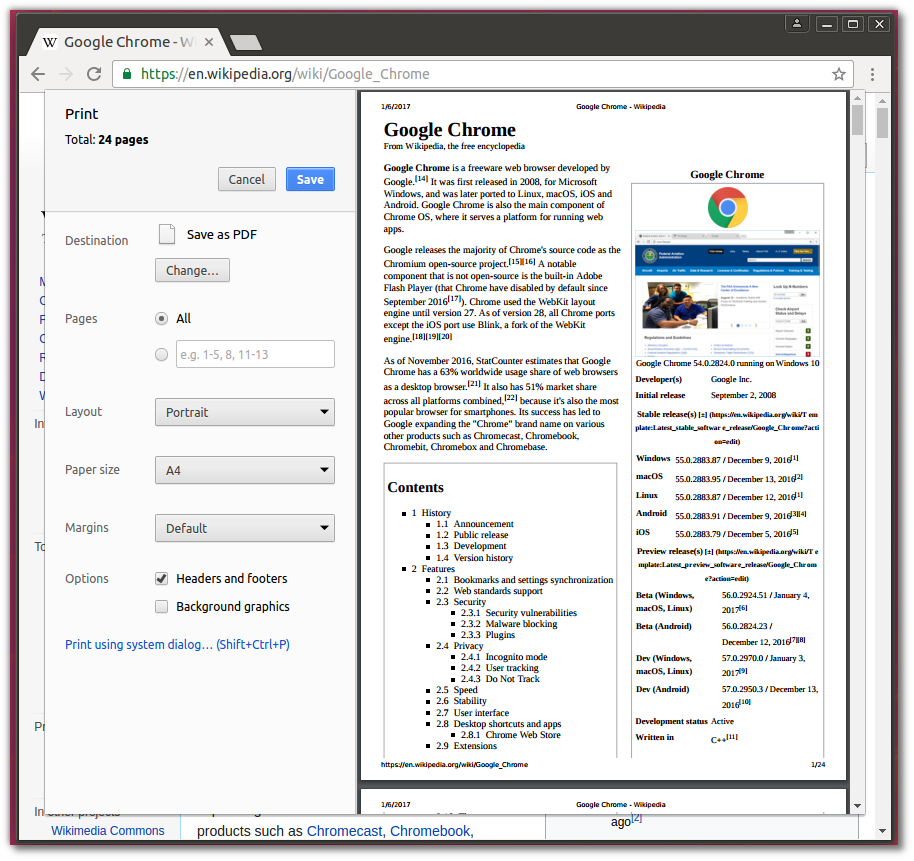
Built-in PDF viewer and Print preview (see images below) were two major differences until version 47. They are included in Chromium 47 and later, after Google open-sourced the PDF viewer.
See the differences in details here.
Google Chrome Print Preview
Google Chrome PDF viewer
Chrome VS Chromium – Which one to choose for my Desktop
Although there are no major differences now, Google Chrome is preferable than Chromium for a modern desktop. Anyway, it is a matter of personal preference.
Chromium browser – Installation
If you need help on how to install a package on Ubuntu, read this post: Package Management and System Update in Ubuntu Desktop.
Chromium is Open Source software, so it is available from Official Ubuntu Repositories. Open a terminal and type:
sudo apt-get install chromium-browser
You will get something like:
Reading package lists... Done
Building dependency tree
Reading state information... Done
The following additional packages will be installed:
chromium-browser-l10n chromium-codecs-ffmpeg-extra
Suggested packages:
webaccounts-chromium-extension unity-chromium-extension adobe-flashplugin
The following NEW packages will be installed:
chromium-browser chromium-browser-l10n
The following packages will be upgraded:
chromium-codecs-ffmpeg-extra
1 upgraded, 2 newly installed, 0 to remove and 199 not upgraded.
Need to get 63,0 MB of archives.
After this operation, 253 MB of additional disk space will be used.
Do you want to continue? [Y/n]
Launch Chromium browser
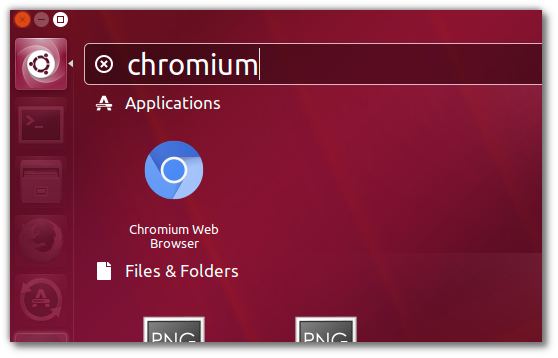
You can launch Chromium using Ubuntu Unity Dash (see image). Open Dash (click the top button of the Launcher or press SUPER key) and type some letters (eg “chrom”):
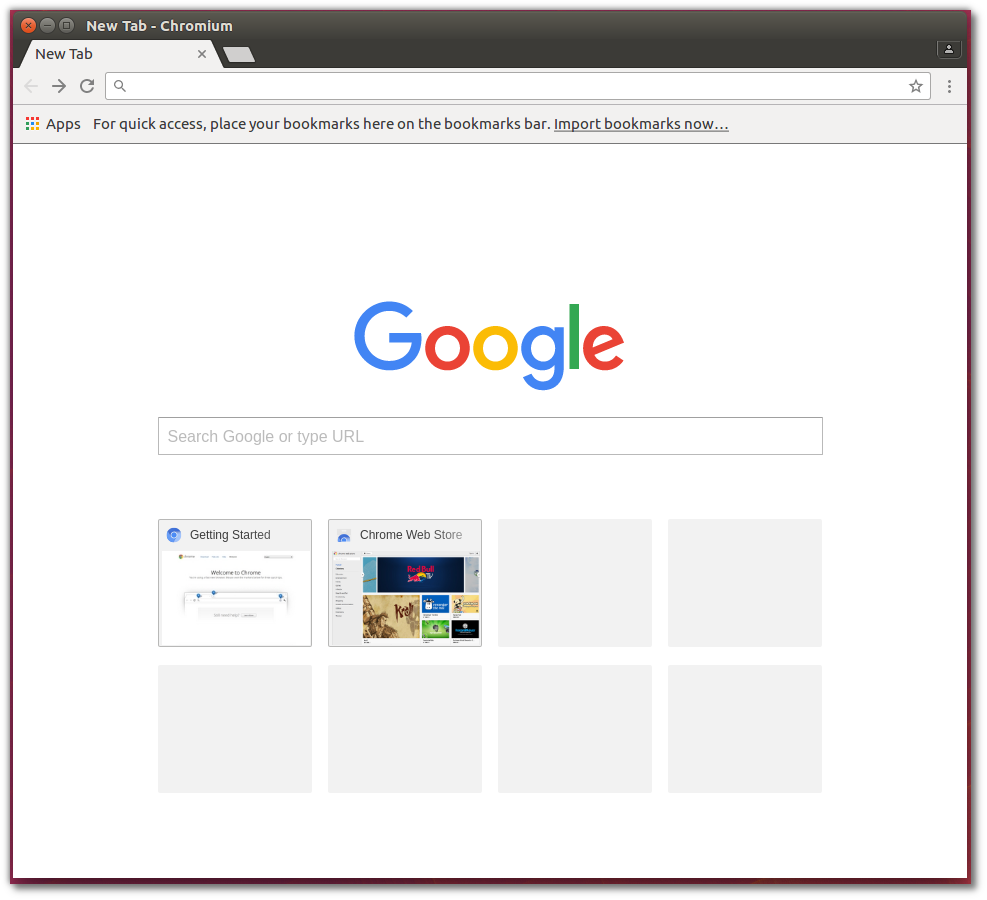
And here is Chromium “Version 55.0.2883.87 Built on Ubuntu , running on Ubuntu 16.04 (64-bit)” (at the time of writing this article).
Google Chrome – Installation
If you need help on how to install a package on Ubuntu, read this post: Package Management and System Update in Ubuntu Desktop.
Google Chrome is Free but not Open Source, so you will not find it in Official Ubuntu Repositories.
Actually, during installation another repository is added to your system
/etc/apt/sources.list.d/google-chrome.list
with the following contents:
### THIS FILE IS AUTOMATICALLY CONFIGURED ###
# You may comment out this entry, but any other modifications may be lost.
deb [arch=amd64] http://dl.google.com/linux/chrome/deb/ stable main
STEP 1 – Download .deb file from Google
Point your browser to Chrome home page and click to download .deb package for Debian/Ubuntu.
STEP 2 – Install .deb file
After you accept the License you will see this dialog:

You have two options here:
FIRST OPTION – Open with Software Install (recommended)
If you choose the default option: Open with Software Install, wait until the OK button to become enabled (download completed) and click the OK button.
Soon the dialog will close and you will see the “Software install” screen:

Here press “Install” and wait some seconds. When Google Chrome is instaled the “Install” button will become “Remove”.
Installation of Google Chrome has been completed.
SECOND OPTION – Save file
If you choose the second option: Save file, you have two options (again):
A. Using graphical interface
using the File Manager, go to Downloads folder (where the file is saved), right click it and select “Open with Software install”
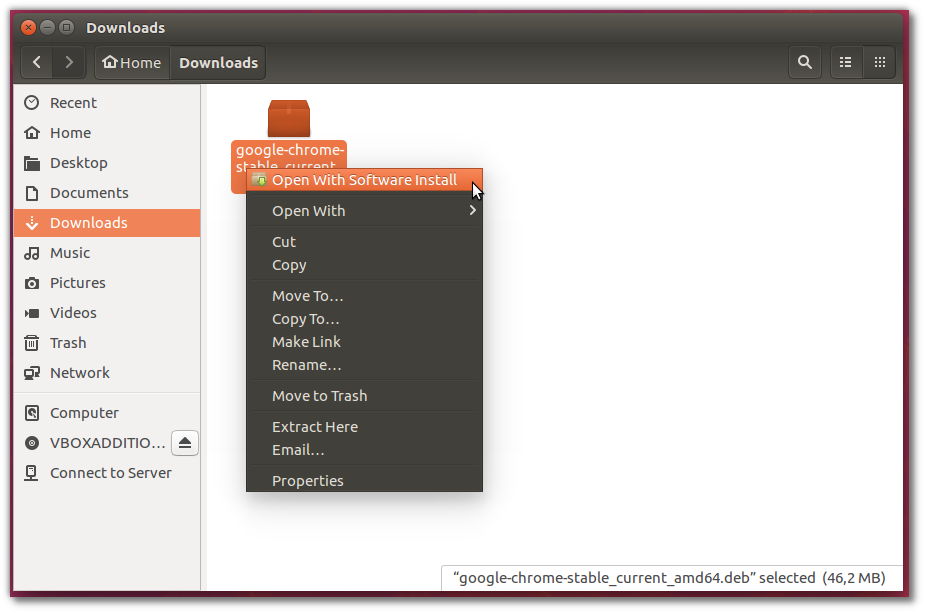
Then, follow the steps in FIRST OPTION.
Installation of Google Chrome has been completed.
B. Using command line
open a Terminal, go to Downloads folder (where the file is saved) and type:
sudo dpkg -i google-chrome-stable_current_amd64.deb
Installation of Google Chrome has been completed.
Launch Google Chrome
You can launch Google Chrome using Ubuntu Unity Dash (see image). Open Dash (click the top button of the Launcher or press SUPER key) and type some letters (eg “chrom”):

Here is the main screen:
Settings
You can access Chrome “Settings” from the top-right menu-button:
Another way is to write directly to the address bar:
chrome://settings/
This is the default “Settings” Page, just after installation

You can Show/Hide Advanced Settings from the link at the bottom of the page.
These are the changes I made:
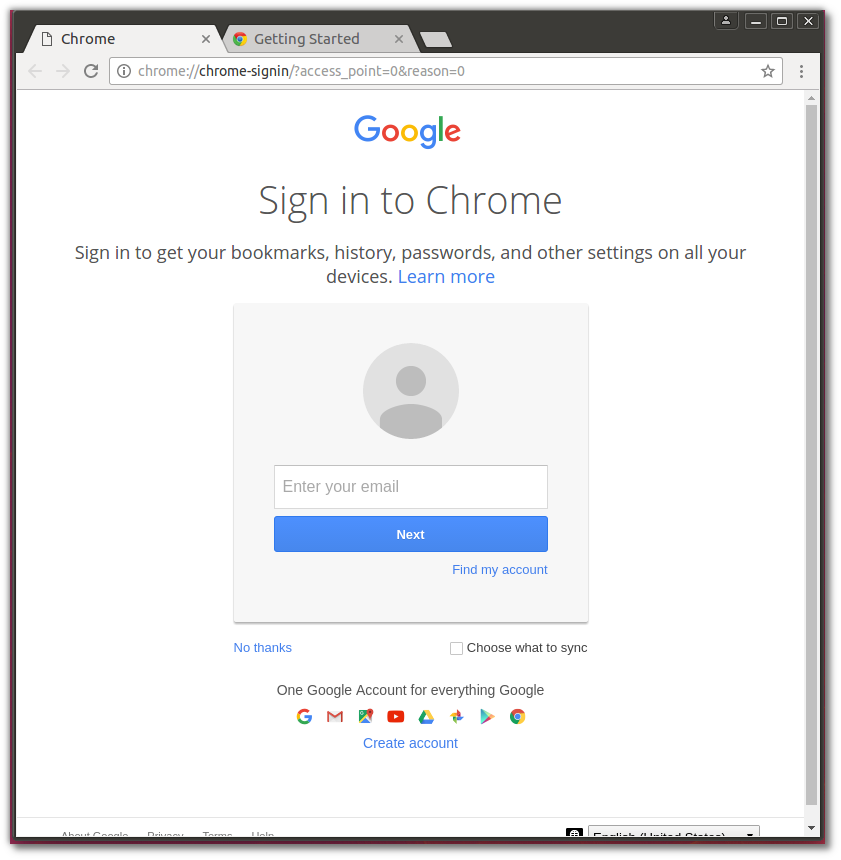
Sign in
It is recommended to “Sign in” to your Google account, so you can keep your Chrome synced between devices (desktop, laptop, mobile devices). Use Chrome Sync to synchronize Bookmarks, History etc I prefer to NOT save/sync passwords.
From “Advanced sync settings” button:
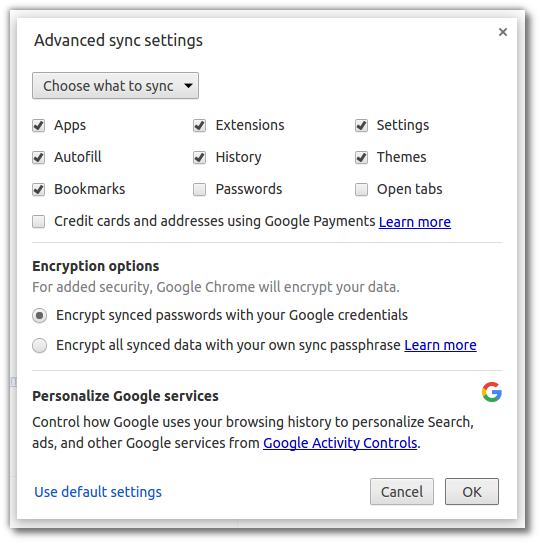
Not all settings will be synchronized across computers. So, changes to “On startup”, “Appearance” appear among all your devices. But, changes to “People”, “Privacy → Content Settings”, “Web content” (Font size etc), “Download folder” do not seem to be affected by sync.
Appearance
- Show Home button
- Always show the bookmarks bar
Advanced Settings → Privacy
Settings → Show Advanced Settings → Privacy → Content Settings → Cookies → Keep local data only until I quit my browser
This setting can be considered excessive. But it is necessary at least in laptops, smartphones and tablets. If you use Cloud services and the portable device is lost or stolen, it is critical (in terms of security) these sites to request password. You have to choose between convenience and security.
Available on Desktop, but not on Chrome for Android. In Android you have to clear Cookies manually from Settings. You will not disconnected from your Google Account.
(Remark: a setting like “Clear Private data on exit” is not available in Chrome like in Firefox).
Advanced Settings → Passwords and forms
I prefer to NOT save/sync passwords. So, the option “Offer to save your web passwords” will be unchecked.
I use KeePaasX to manage my passwords.
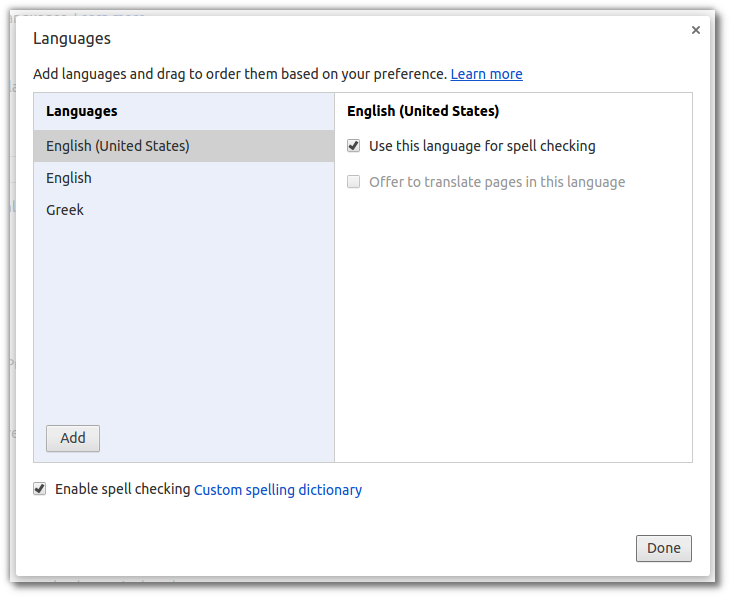
Advanced Settings → Languages
You may add your local language. In my case:
Advanced Settings → Downloads
Set Downloads folder
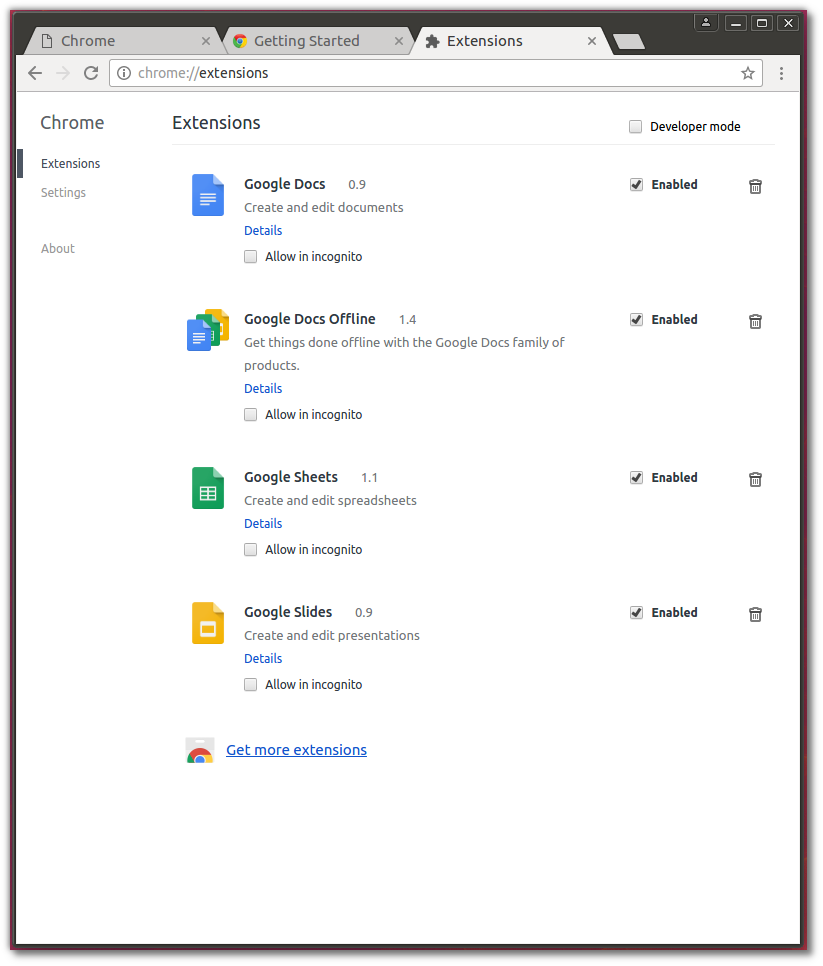
Extensions
Default
After installation, the following Chrome Extensions have been installed (see image). I didn’t make some changes here. Of course, you may use the link “Get more extensions” if you like to install more extensions.
JAVA plugin in Chrome
You need Java plugin in websites which use Java applets. But, recent versions of Chrome do not support the Java plugin. NPAPI support was removed from Google Chrome 35 for Linux. See this and this.
If you really need Java in your browser, use Firefox.
Verify using one of
Adobe Flash Plugin (Shockwave Flash) in Chrome
Google Chrome browser includes its own built-in Adobe Flash Player. So you DO NOT have to install something. Read more at this and this.
Verify using one of
- https://helpx.adobe.com/flash-player.html
- https://www.whatismybrowser.com/
- http://isflashinstalled.com/
Entrepreneur | Full-stack developer | Founder of MediSign Ltd. I have over 15 years of professional experience designing and developing web applications. I am also very experienced in managing (web) projects.