
Ubuntu is based on Debian and all software packages are .deb files. Most software packages are free available from Ubuntu Repositories. Adding and removing software and System Update are critical procedures, as for every system.
Debian packages (and Ubuntu of course) can be managed from command line using the package manager “apt“. There is also a menu-driven, text-based frontend to apt, which is called “aptitude“. Moreover, dpkg command (Debian package) is the low level package manager for Debian files (.deb). It is the backend of apt (and aptitude), which in turn is the backend for GUI utilities like Synaptic Package Manager and Ubuntu Software Center.
Ubuntu Desktop releases offer handy GUI utilities to handle Package Management and System Update:
- Repository management: Software & Updates
- Add – remove software:
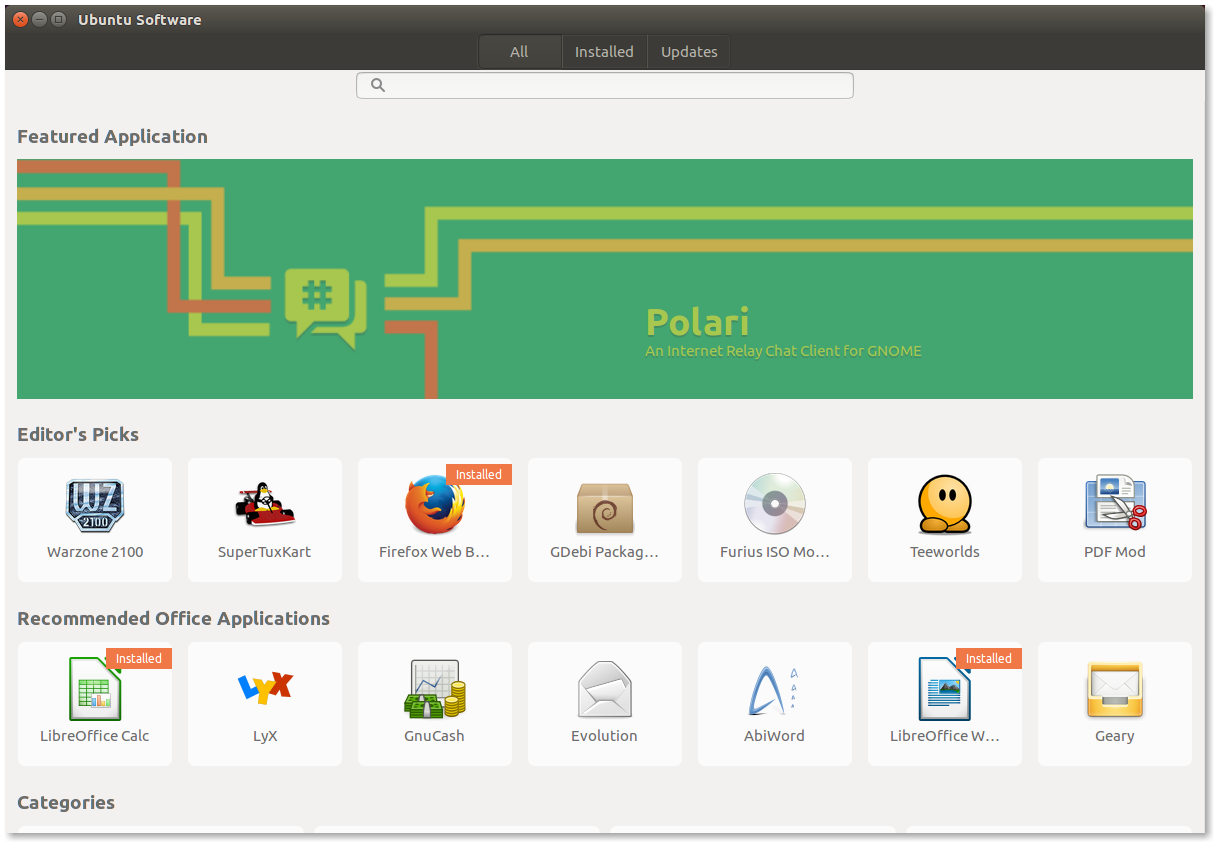
- Ubuntu Software Center (or simply “Software” in other Ubuntu flavors) or
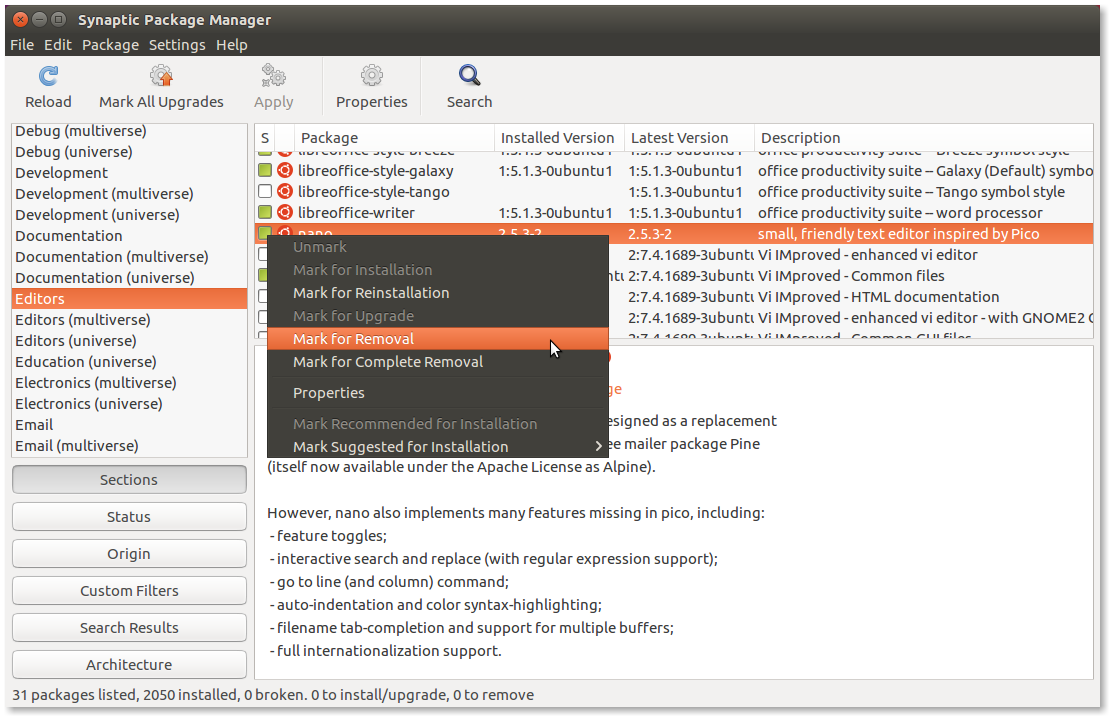
- Synaptic Package Manager (actually, an apt front-end).
- Software and System Update:
- Software Updater
- Updates are also available from Ubuntu Software Center
Using a desktop computer (workstation), it is more possible that you will use these GUI utilities. However, you can use the command line if you prefer. It’s a matter of choice.
You can find these applications using Ubuntu Unity Dash (see image) or from the applications menu in other Ubuntu flavors. For example, to find “Software Updater”, open Dash (press SUPER key) and type something relevant:

Please note that Synaptic is not included in default installation. To install it, use Ubuntu Software Center or open a terminal and use:
sudo apt-get install synaptic
It is recommended to select a Long Term Support (LTS) Ubuntu Release for your Desktop Workstation, so you will have Updates for 5 years. A new LTS version is released every 2 years. Current LTS release (2016 Oct) is Ubuntu 16.04 (Xenial Xerus).
Repository Management
One of the biggest differences between Linux and Microsoft Windows is that most Linux software is free available from Software Repositories. Every Linux distribution releases its software from Repositories and offers a “package manager”.
Ubuntu official Repositories are: Main, Restricted, Universe, and Multiverse. Main and Restricted are fully supported by Canonical (the company behind Ubuntu), while Universe and Multiverse are supported by the community.
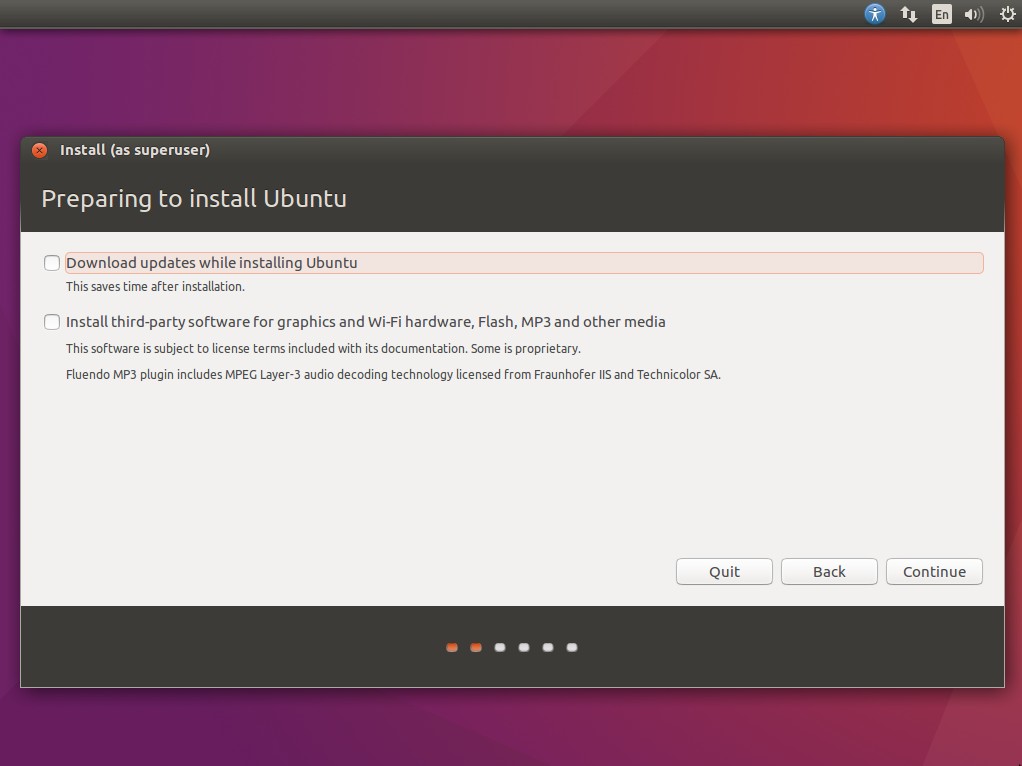
In latest Ubuntu Desktop releases all four repositories enabled by default. If you want Ubuntu to setup software other than open source officially supported, then check “Install third-party software for graphics and Wi-Fi hardware, Flash, MP3 and other media” during installation procedure. However, you can do it later, but it is recommended to be done during installation. Please, note that it IS NOT RECOMMENDED in Ubuntu server systems, where “security” is critical.
Except these Repositories, there are many more, named PPA (Personal Package Archives) for third party programs. These Repositories hosted in Launchpad platform. Of course, these repositories are not supported from Canonical.
Add Repository – Official Repositories
Using command line
Official Repositories are defined in /etc/apt/sources.list
A repository line seems like:
deb http://us.archive.ubuntu.com/ubuntu/ xenial main restricted
# deb-src http://us.archive.ubuntu.com/ubuntu/ xenial main restricted
To enable a repository
- uncomment its definition line and then
- refresh system software sources using
sudo apt-get update
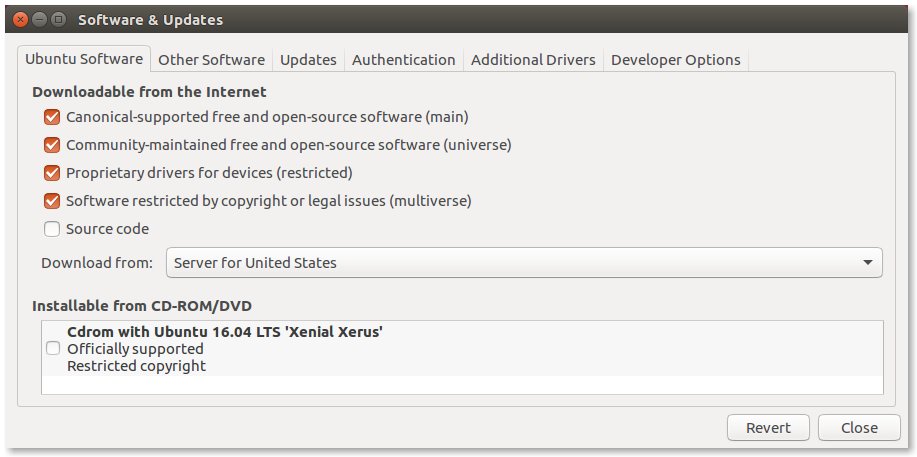
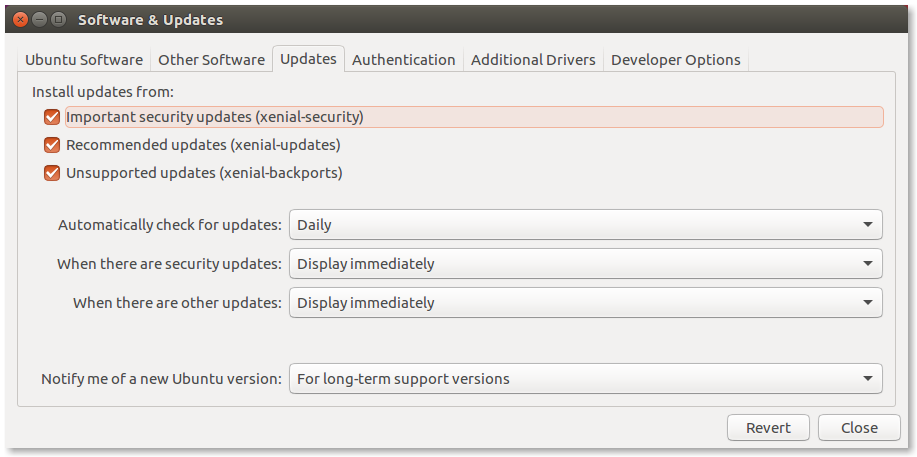
Using “Software & Updates”
Go to first TAB “Ubuntu Software”, check the repository you want to enable and follow the instructions.
Add Repository – Other repositories (including PPA)
Using command line
Avoid to directly edit /etc/apt/sources.list. Use your own .list file in /etc/apt/sources.list.d. For example, to add Oracle Virtualbox Repository:
sudo nano /etc/apt/sources.list.d/virtualbox.list
Add the line
deb http://download.virtualbox.org/virtualbox/debian xenial contrib
Download the provided Repository key and add this with:
sudo apt-key add oracle_vbox_2016.asc
Finally, update Repositories in your system (software sources)
sudo apt-get update
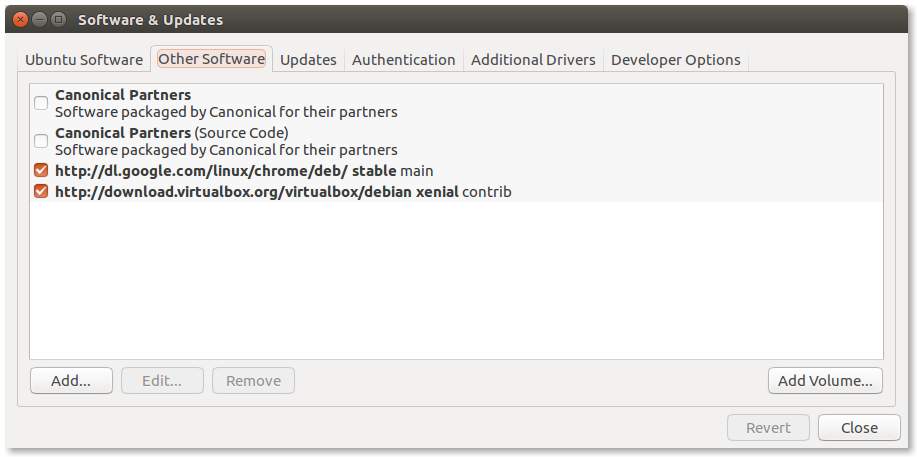
Using “Software & Updates”
Go to TAB “Other Software” press “ADD” and follow the instructions
Using add-apt-repository
It is mainly used for PPA repositories
sudo add-apt-repository ppa:whatever/ppa
Theoretically, it can be used for other repositories
sudo add-apt-repository "deb http://us.archive.ubuntu.com/ubuntu/ saucy universe multiverse"
Remove Repository
Using command line
To disable a repository, comment its definition in /etc/apt/sources.list or delete the relevant .list file in /etc/apt/sources.list.d and then refresh system software sources using:
sudo apt-get update
Using “Software & Updates”
Uncheck Repository and follow the instructions
on first TAB “Ubuntu Software”
or second TAB “Other Software”
Using add-apt-repository
It is mainly used for PPA repositories
sudo add-apt-repository --remove ppa:whatever/ppa
Package Management (Add – remove software)
It is recommended to install software from Repositories, in order to keep your system secure and updated. In some cases this is not possible (some Java applications or software with custom installers). In this case, you have to take care for updates and newer versions of these applications.
Add software from Repositories
Using apt from command line
Just use the command
sudo apt-get install package_name
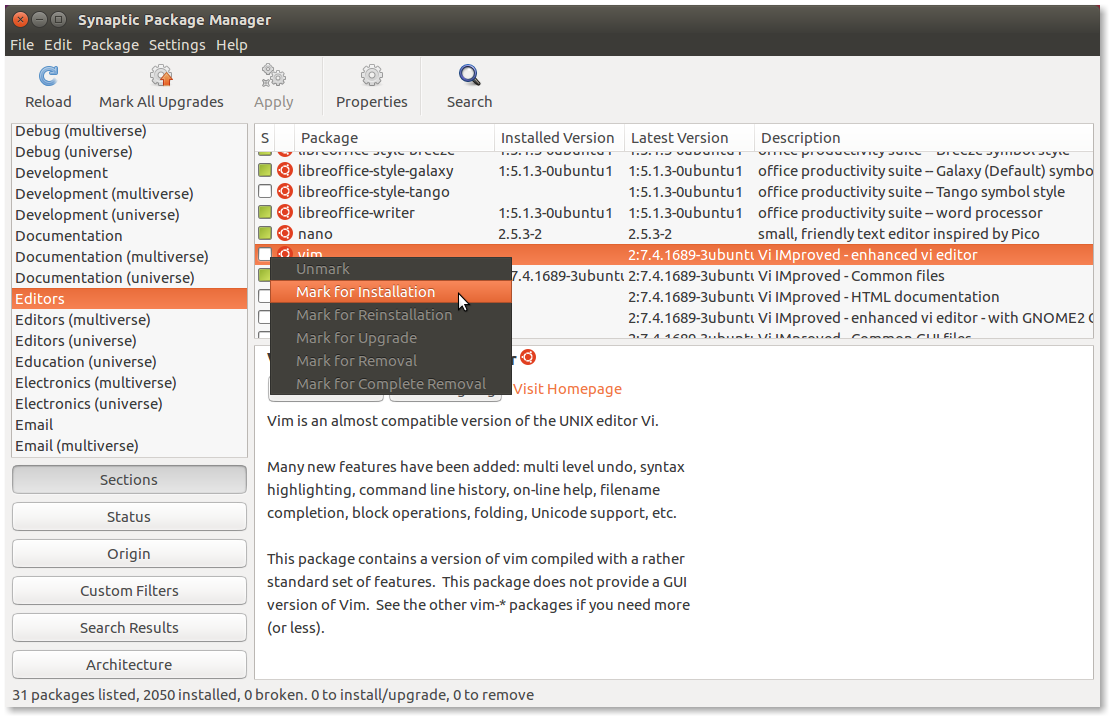
Using Synaptic
- Search for this package
- Check “Mark for Installation”
- Press “Apply”
Using Ubuntu Software
- Search for this package
- Check “Install”
Add software – Direct Install .deb file
Using dpkg from command line
Just use the command
sudo dpkg -i package_name
In case of dependency problems are reported, after using dpkg, install dependencies using
sudo apt-get install -f
Using “Ubuntu Software Center”
Right click .deb file and select “Open with Software Install”
Remove software
Using apt from command line
Just use the command
sudo apt-get remove package_name
If you want to also remove user data and configuration files
sudo apt-get purge package_name
Using –auto-remove parameter will also remove package dependencies.
Using dpkg from command line
Just use the command
sudo dpkg -r package_name
To remove a package and its configuration files
sudo dpkg -P package_name
Files in your home folder are not part of the package so they will stay on your system until you remove them by yourself.
Using Synaptic
- Search for this package
- Check “Mark for Removal” (“Mark for Complete Removal” will also remove configuration files)
- Press “Apply”
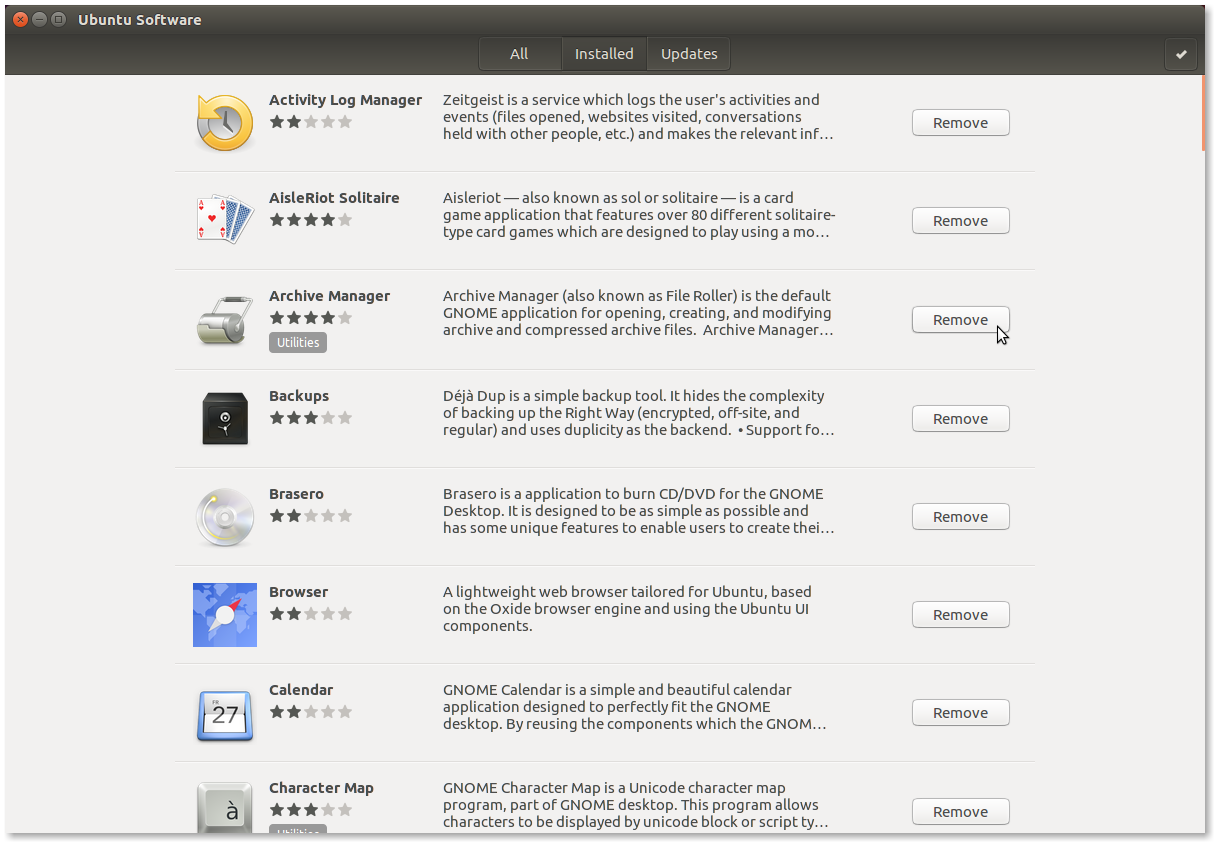
Using Ubuntu Software Center
- Find this package in TAB “Installed”
- Press “Remove”
Remove old kernels
After installing a new Linux kernel, old kernels are not automatically deleted. They remain in your disk (/boot partition). You have to delete them manually.
View details in this post.
How to find out if a program is installed in my system?
You may use Synaptic (just search for this package), or using command line:
dpkg-query -W -f='${Status} ${Version}\n' package_name
System Update
System Update is a critical procedure with which you can
- install OS (operating system) updates (mostly security updates)
- update installed software with latest versions
Upgrade to a newer version of Ubuntu (without perform a fresh install) is another procedure outside ot the purpose of this post.
Using apt from command line
Just use this command
sudo apt-get update && sudo apt-get -V upgrade
See this post for details.
Using GUI utilities
One of the most important things to do after installing Ununtu is to configure software update settings. Depending on your settings (“Software & Updates” → tab “Updates” ), Ubuntu will notify you when updates are available or will install them automatically (not recommended).
After installation, Ubuntu will prompt you, if reboot your machine is required.
So, the available GUI utilities for software updates are:
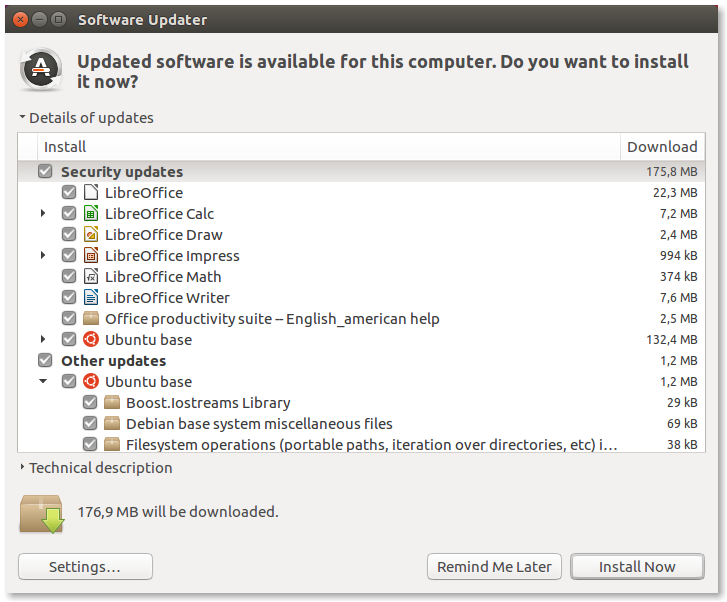
“Software Updater”
“Software Updater” will check for available updates

and then will install them
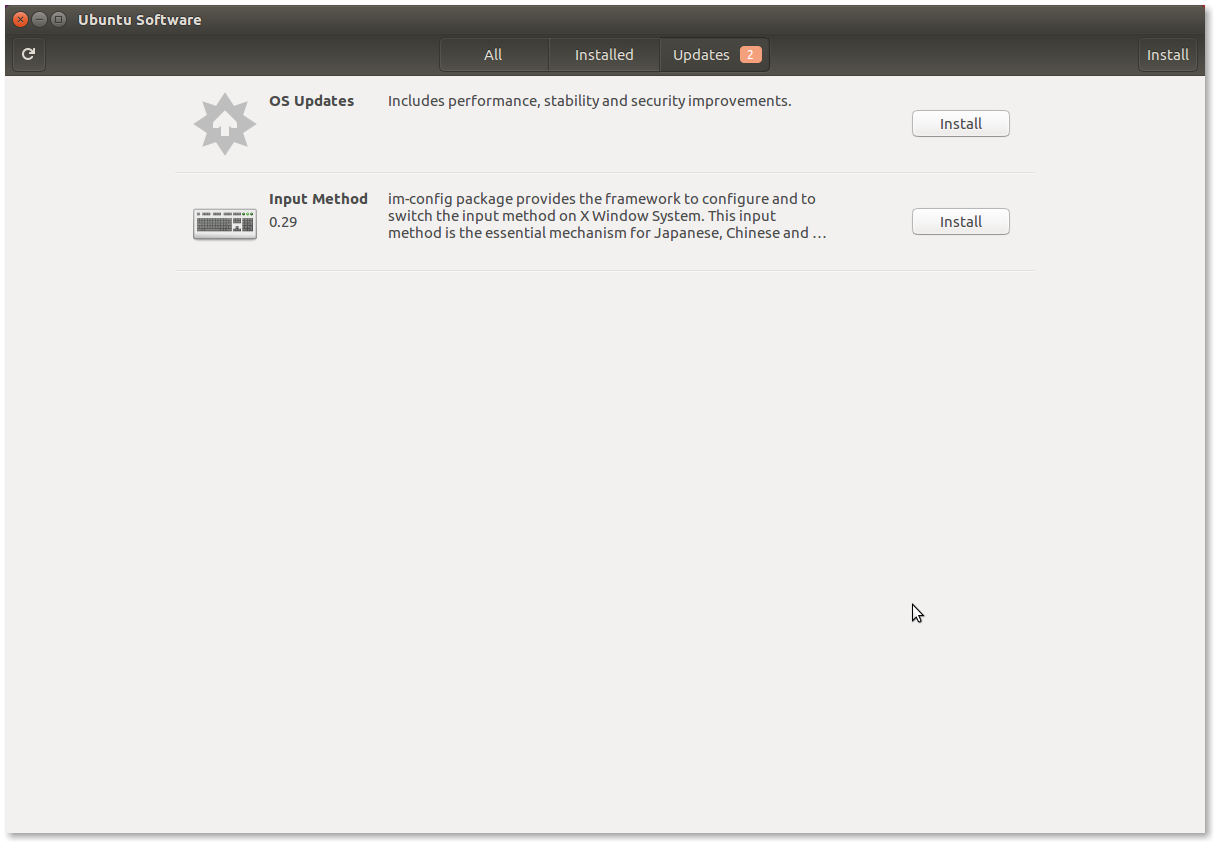
“Ubuntu Software Center”
The third tab of “Ubuntu Software Center” informs you for available updates. This tool shows updates per installed software.
Entrepreneur | Full-stack developer | Founder of MediSign Ltd. I have over 15 years of professional experience designing and developing web applications. I am also very experienced in managing (web) projects.