Image backup is a process which creates a copy of a disk partition or the entire disk. The result is a single file that is called an “image”. This is the difference between image backup and file (or data) backup where selected files are copied.
Image backup is useful for:
- System restore after a disk failure
- System restore after a scheduled disc change
- System restore after a failed upgrade of the the operating system
- System restore after accidental deletion of important system files
- System restore after malicious intervention (hacking, viruses etc)
- and rarely for selective file recovery, provided that the images can be attached to the file system (mounted).
Clonezilla is a Free and Open Source bootable GNU/Linux distribution for disk or partition imaging and cloning. There are two versions available:
- Clonezilla Live suitable for workstations backup tasks
- Clonezilla Server Edition a DRBL server suitable for advanced network backups
In this tutorial Clonezilla Live is used to create partition image and then to restore it in a virtual machine (Virtualbox).
Clonezilla can be used in almost every Opearting System (Microsoft Windows, Linux, Unix, Mac etc). For detailed features and some limitations read this.
Backup
This is the first step, where an image of disk partitions will be created (one image per each partition). So, insert Clonezilla Live CD and reboot your system. From boot menu (usually pressing DEL during boot), select boot from CD. Of course, you may use a bootable USB, if you prefer.
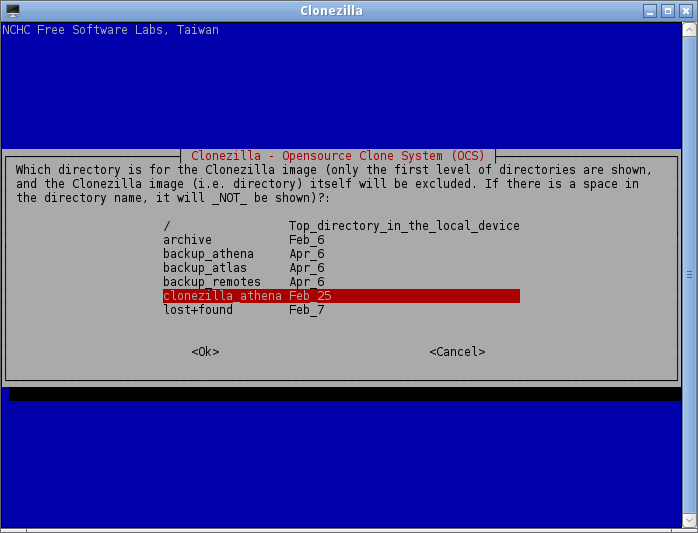
If you perform this operation for first time, create a (top level) directory in the disk you want your images to be saved (in my case clonezilla_athena) in sda8 partition.
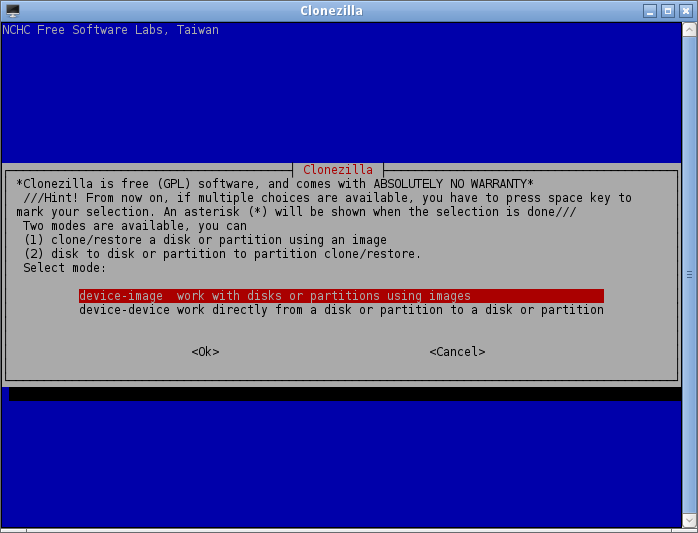
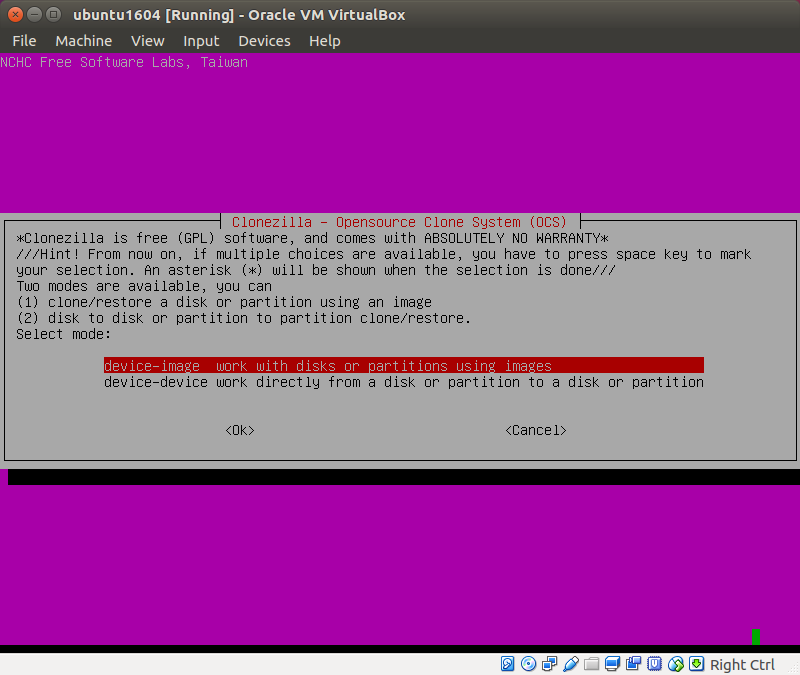
After boot, you have to select language and keymap. Afterwards, select device-image option, which is more safe than device-device (directly copy from one disk to another)
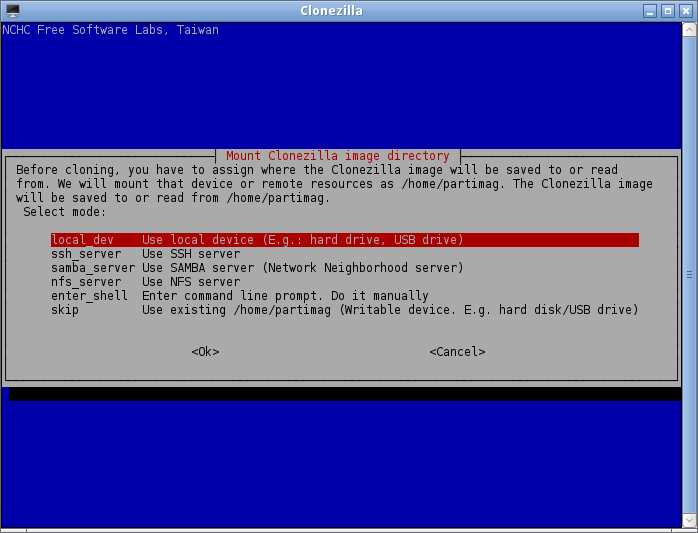
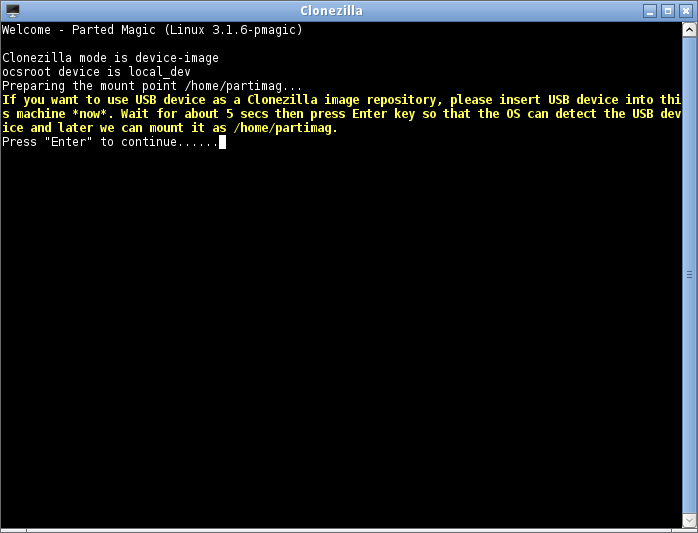
Where you want Clonezilla to save your image? To save this in local device select local_dev
Clonezilla will scan your disks…
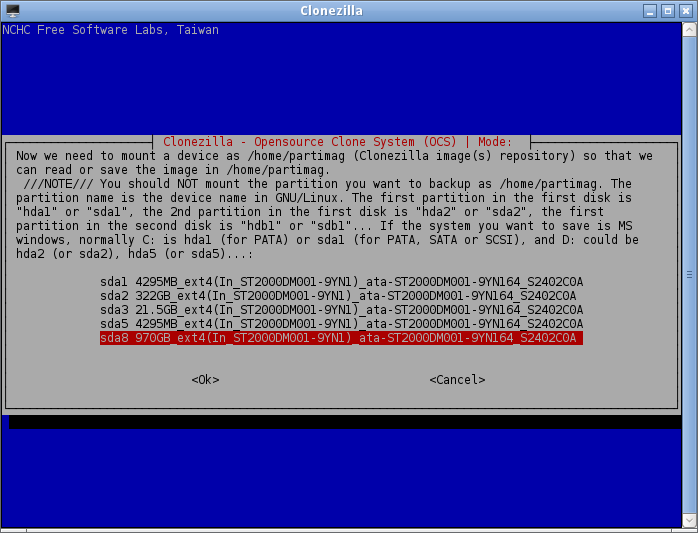
Select the partition where your image will be saved. In my case sda8
Select a directory in the previous selected partition (must be already existed)
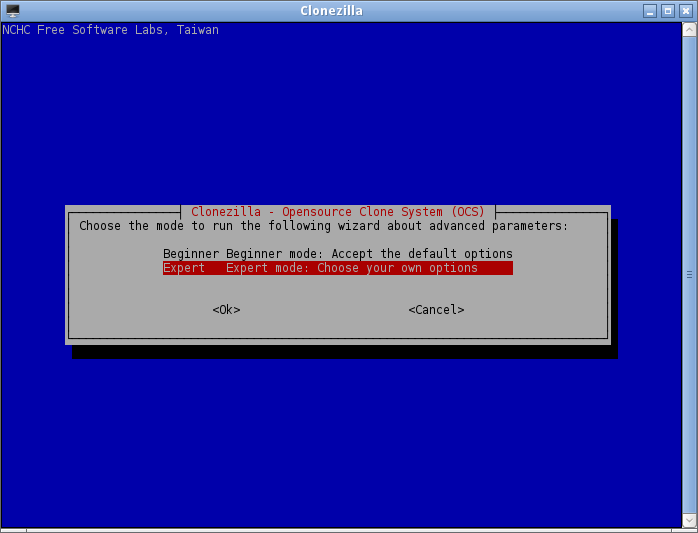
Select Expert mode
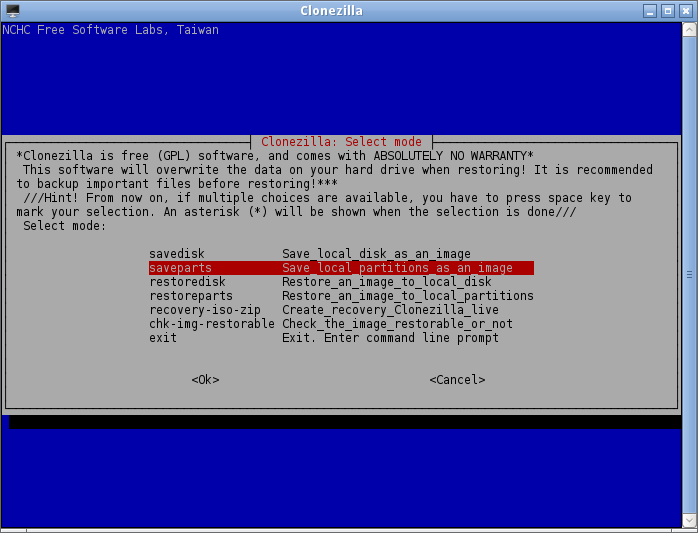
Select saveparts to save a partition
Give a name for your image. A directory will be created with this name, which will contain all image files.

For example, when I save the boot partition, I give this name

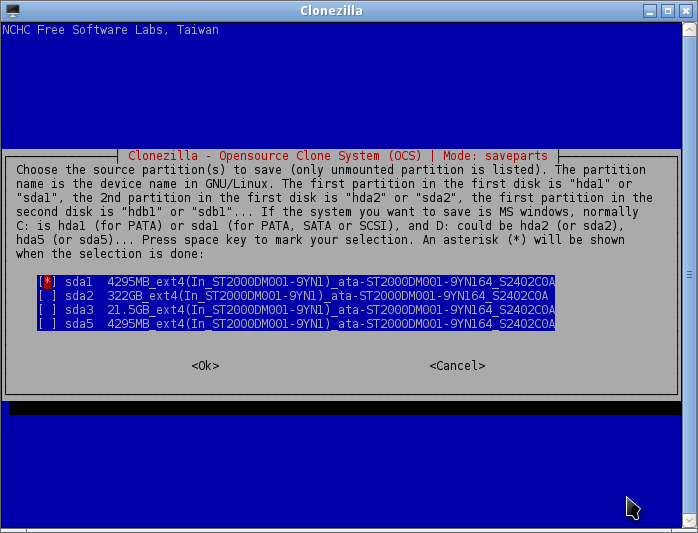
Select the local partition you want to save (for example sda1 which is my boot partition)
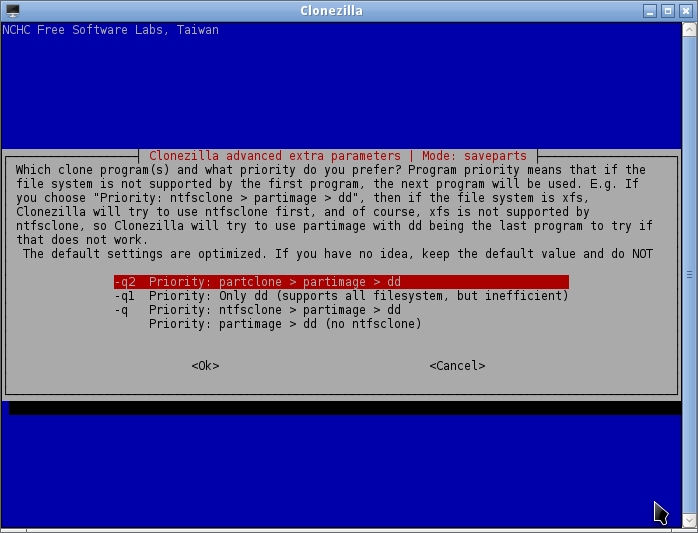
Tell Clonezilla which tools you prefer to use to clone the selected partition
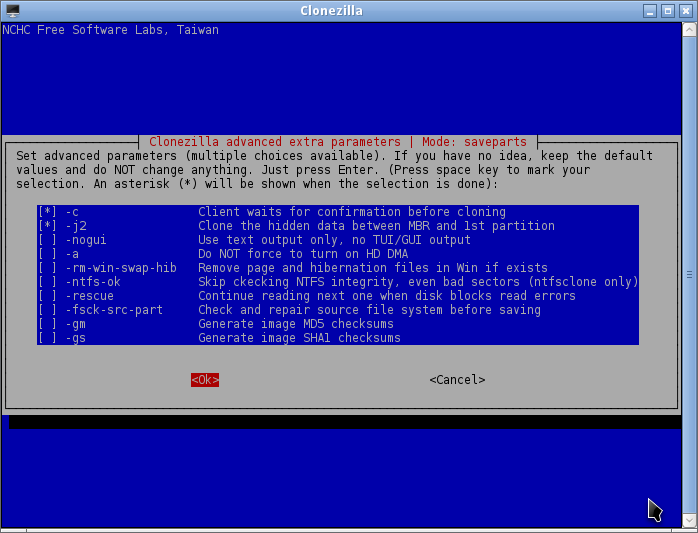
Set extra parameters. Remark: -j2 Clone the hidden data between MBD and 1st partition is needed only when you clone your boot partition.
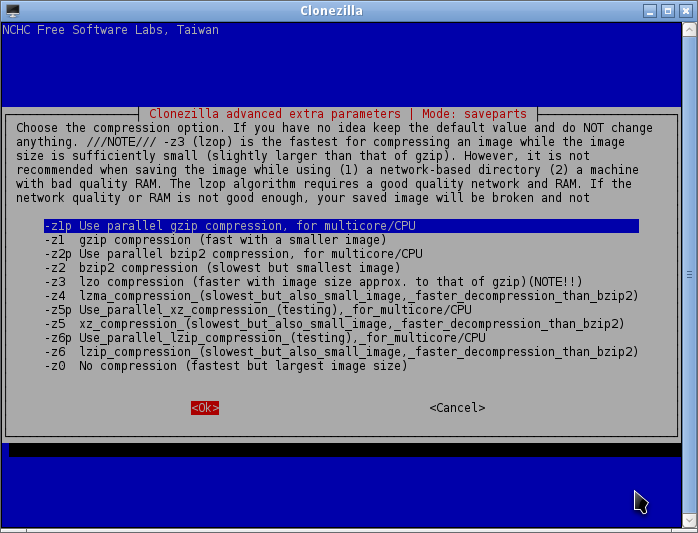
Select compression level
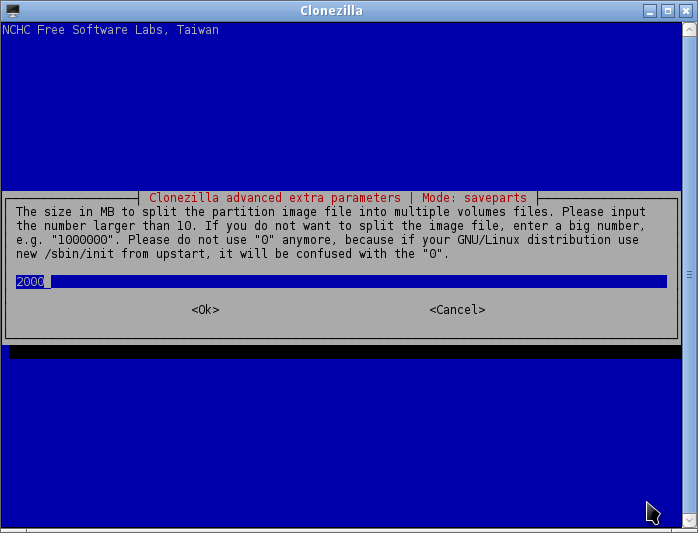
Set a number larger than 10 to avoid split image in multiple files
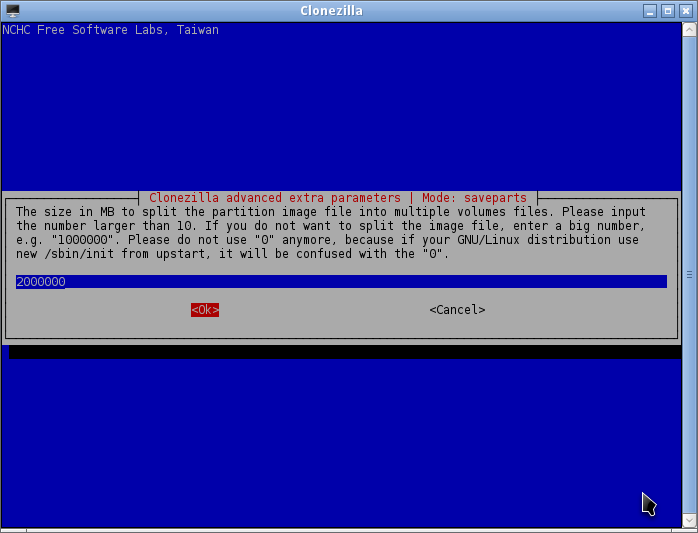
In this step I set 2000000
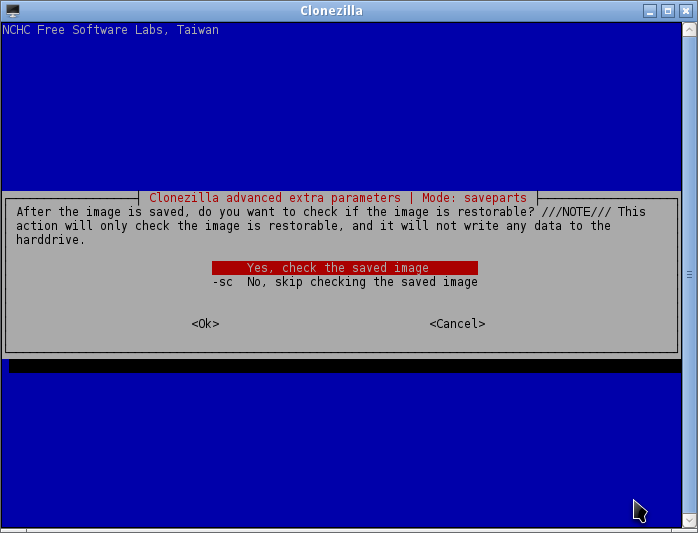
Select Yes, check the saved image
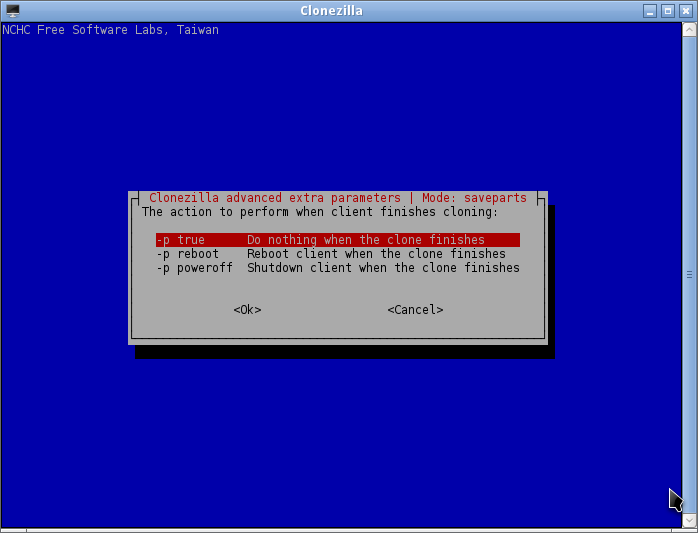
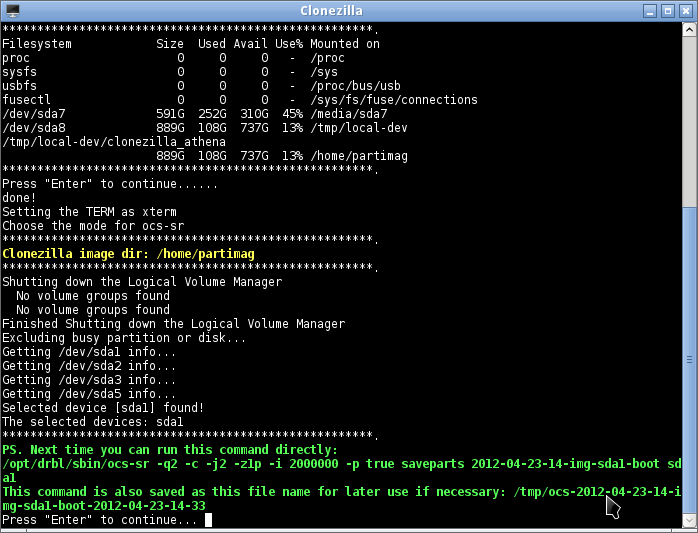
Select the first option here
just continue…
just continue…
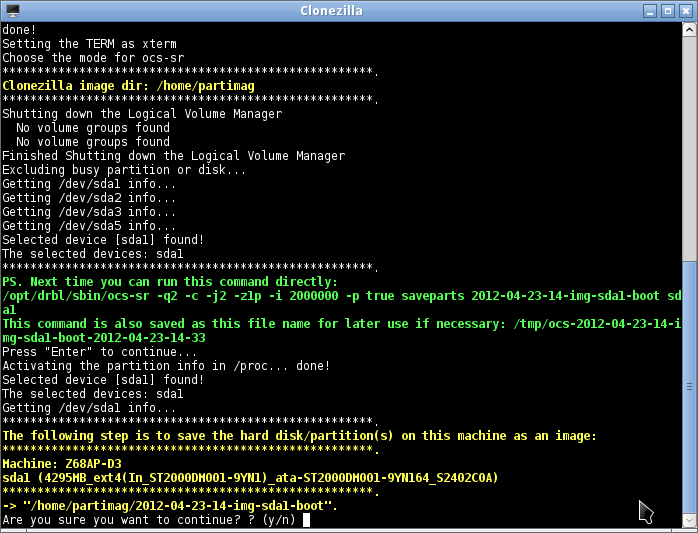
just continue…
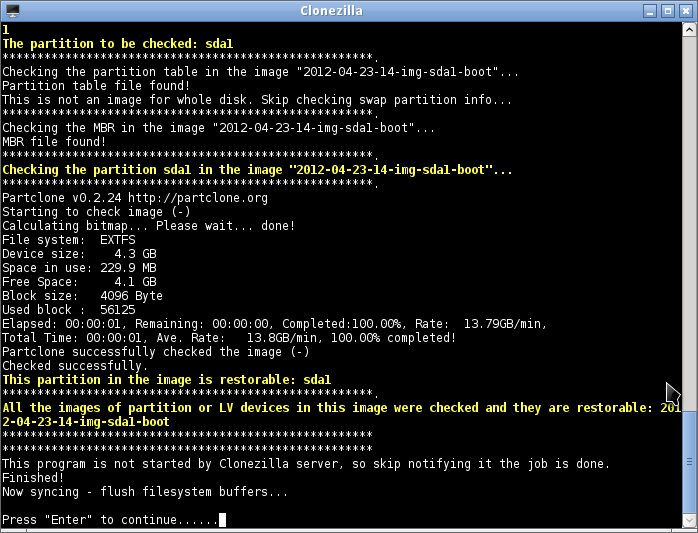
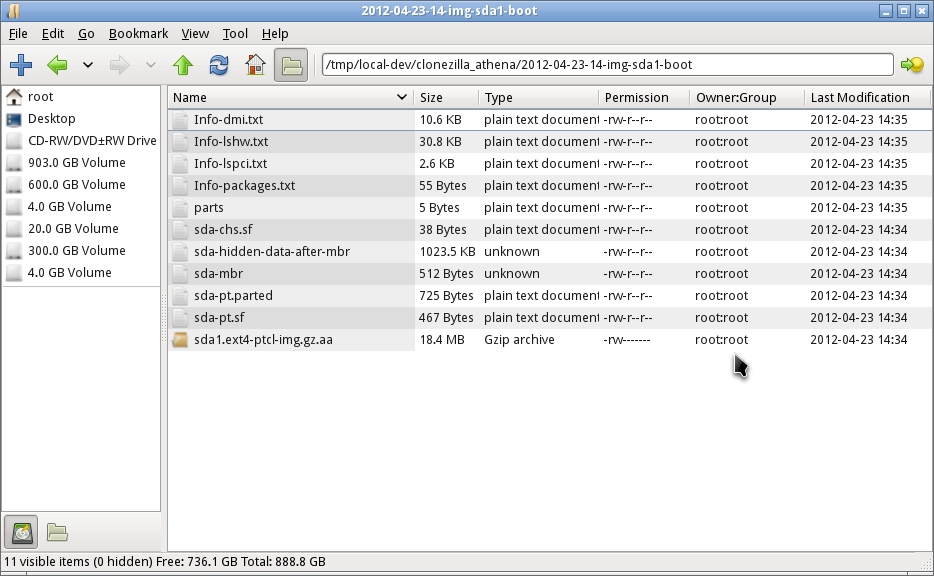
If everything went OK you will see the folder you selected previously which contains your image
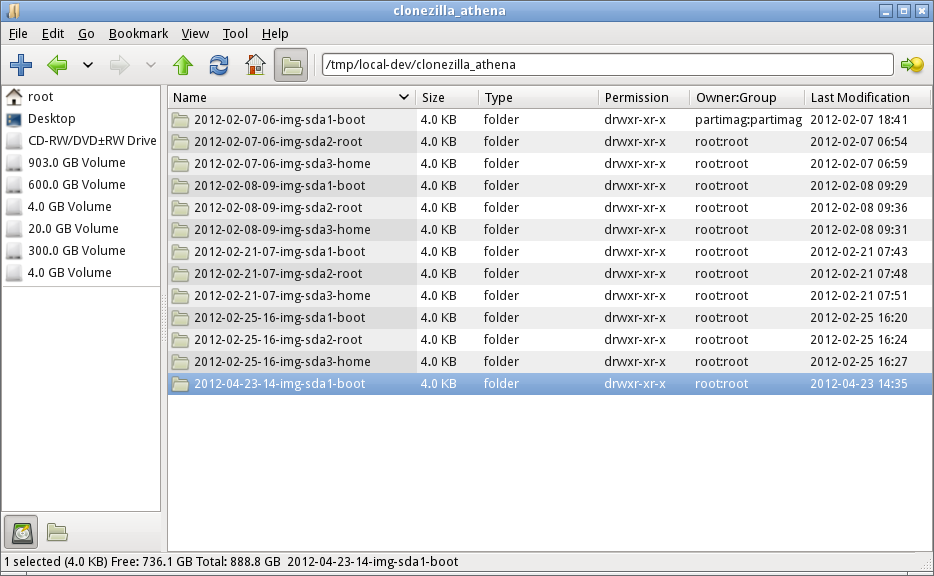
And here are the contents of this folder (actually, more than one files have been created)
Repeat this procedure for every other partition you want to save.
Restore
Here are the steps you have to follow, when you need to restore one or more saved partition images.
Again, insert Clonezilla Live CD (or a bootable USB) and reboot your system.
Restore performed in a virtual machine (just for demo purposes).
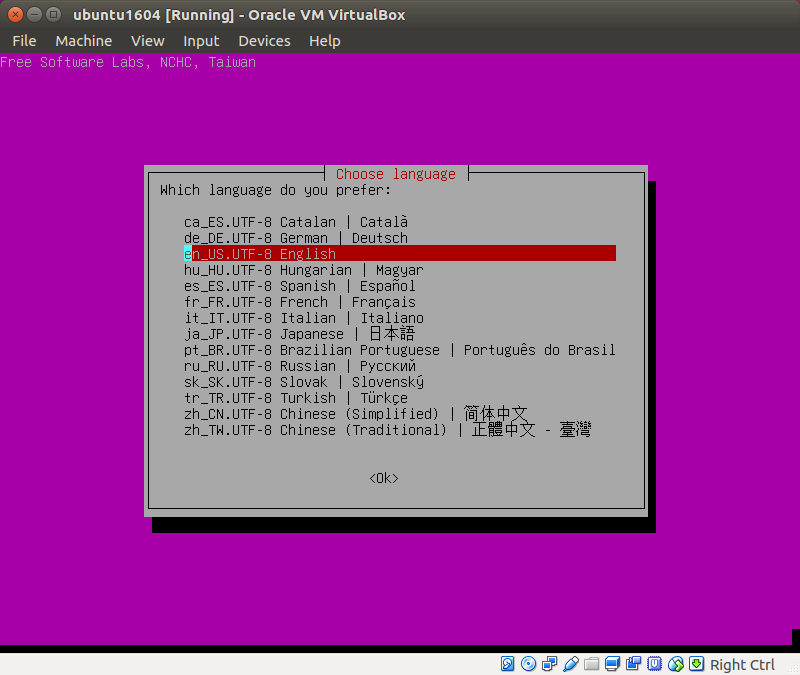
After boot, select language
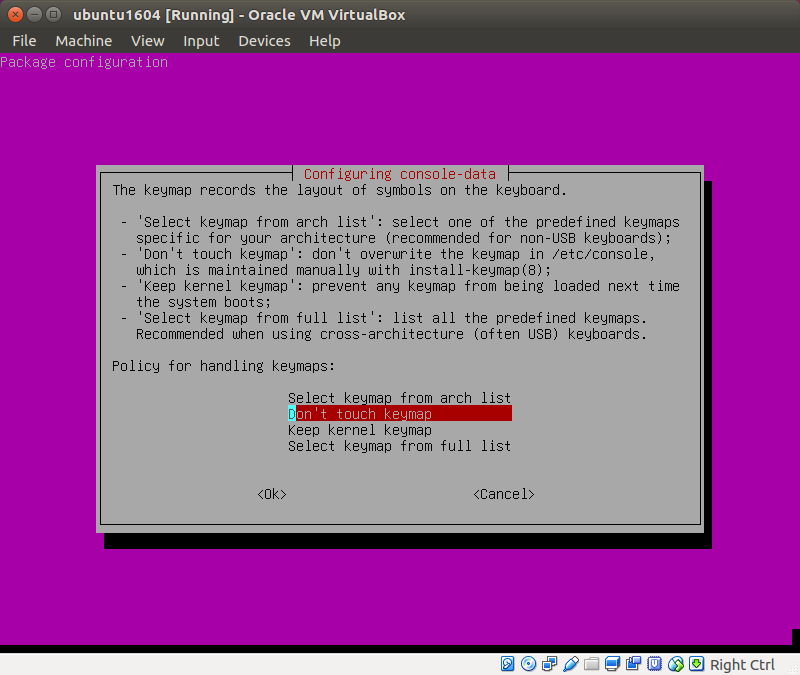
Don’t touch keymap
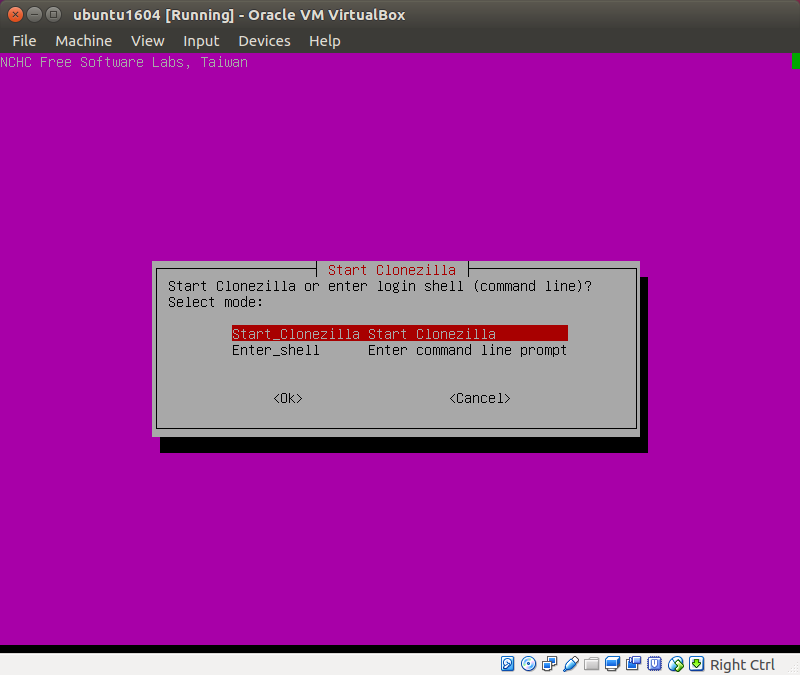
Start Clonezilla
Select device-image option, which is more safe than device-device (directly copy from one disk to another)
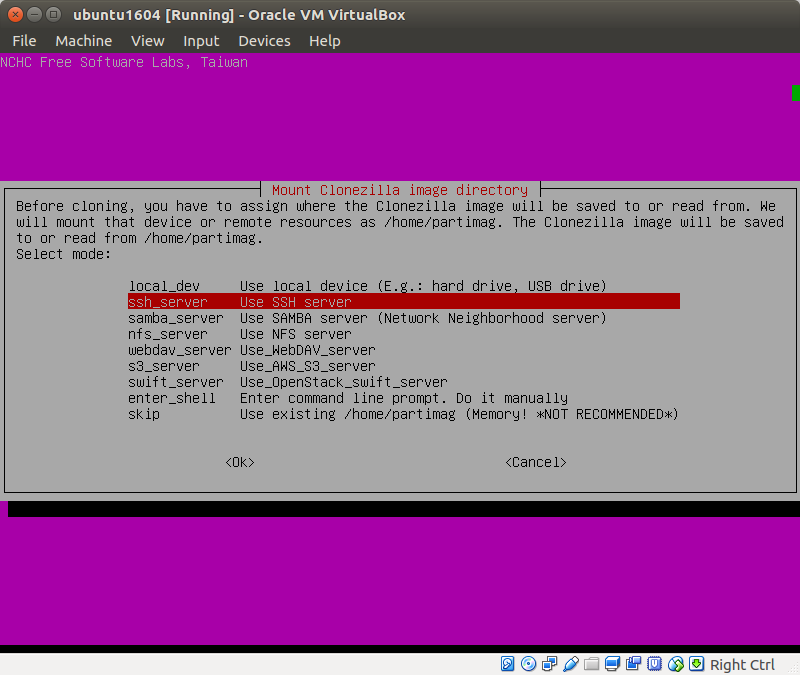
Where Clonezilla will find the saved image? The default option is loval_dev, but… (see next)

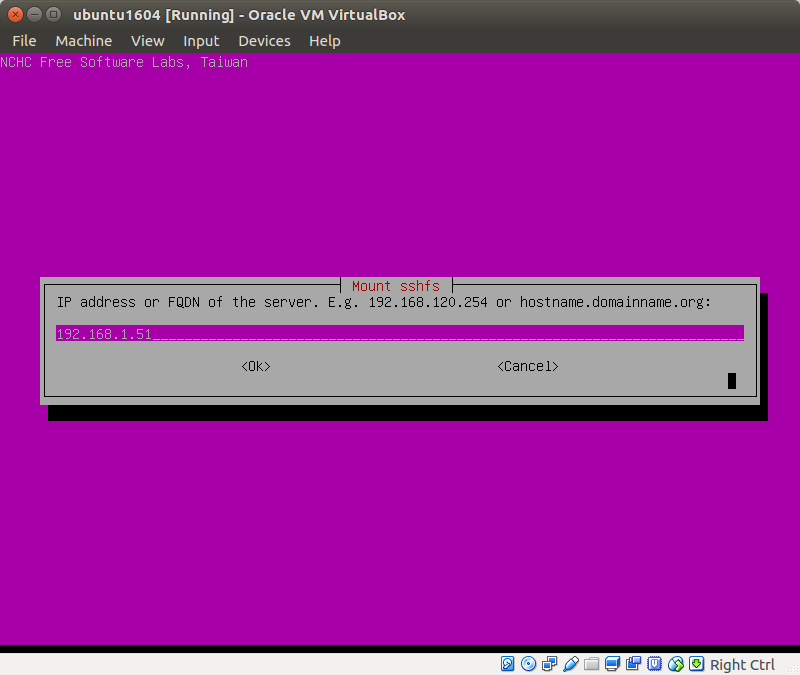
… for this demo I used ssh_server (Clonezilla will be connected with host machine, using SSH, as saved image is located in host computer).
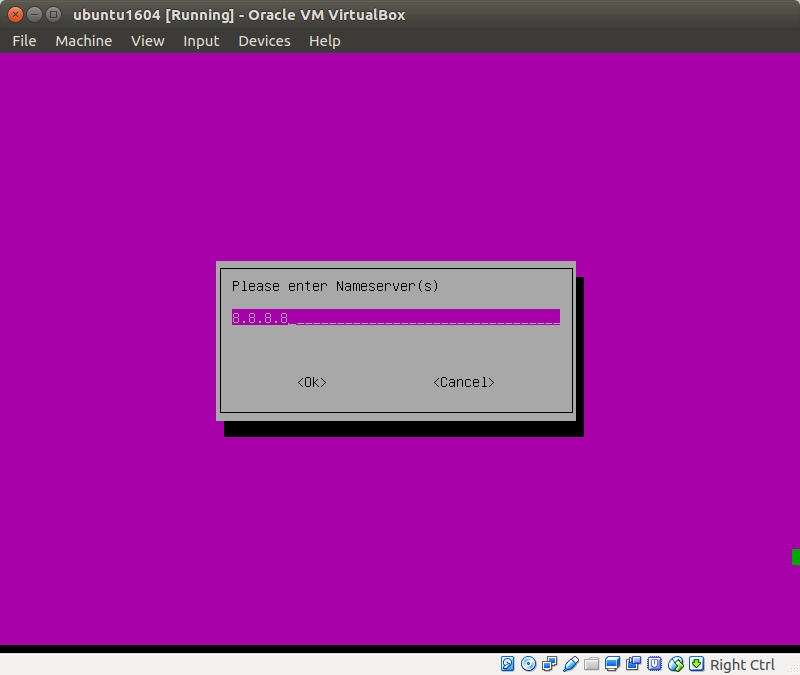
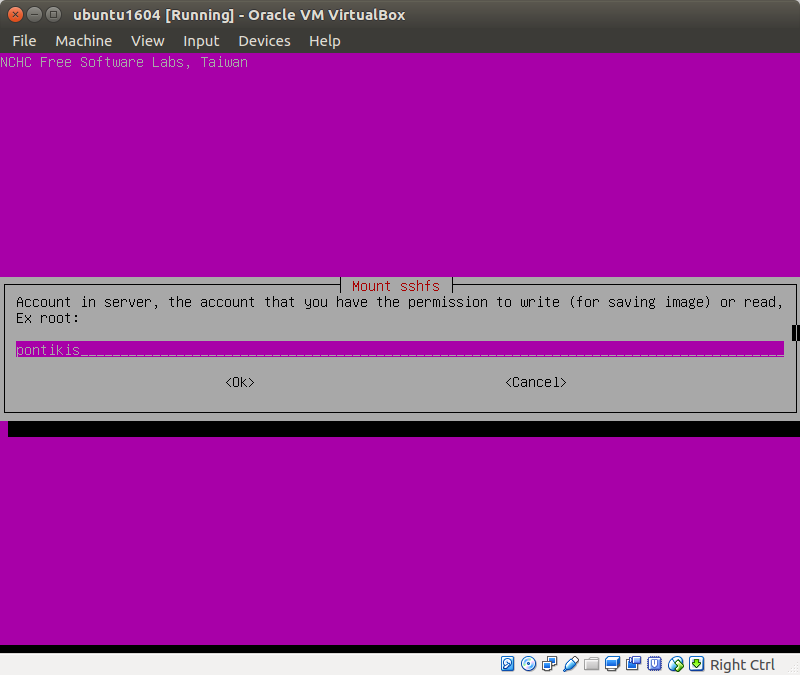
Give SSH settings…
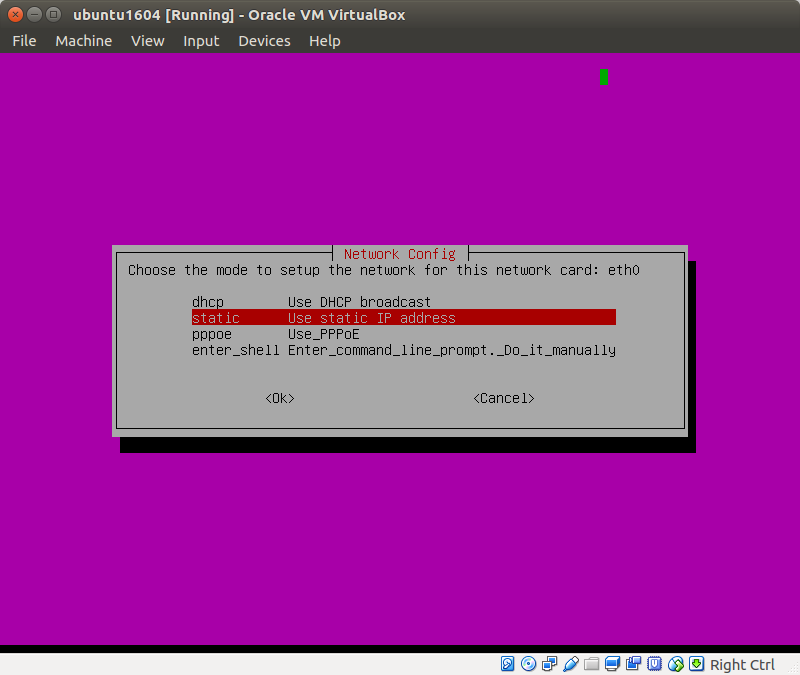
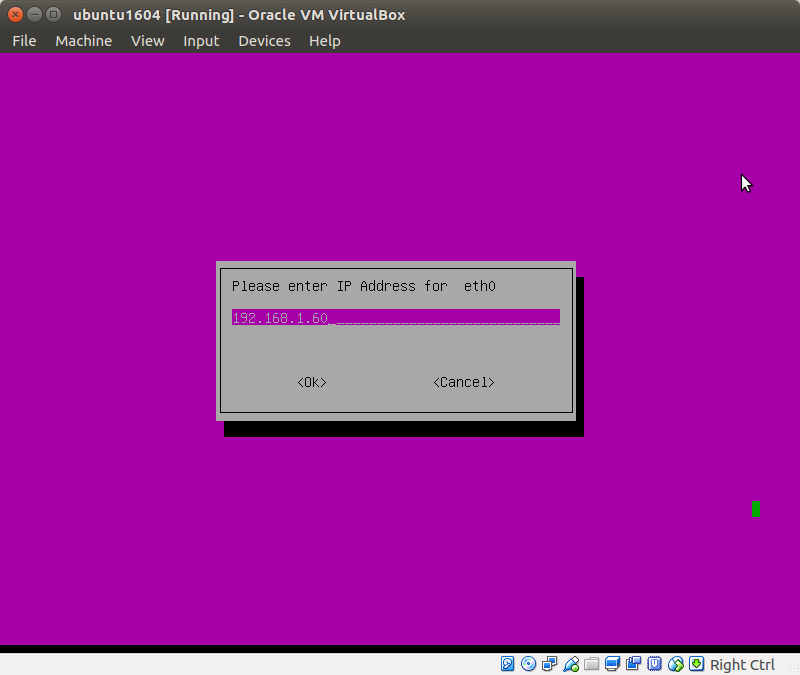
Give SSH settings…(here the IP of the virtual machine)
Give SSH settings…
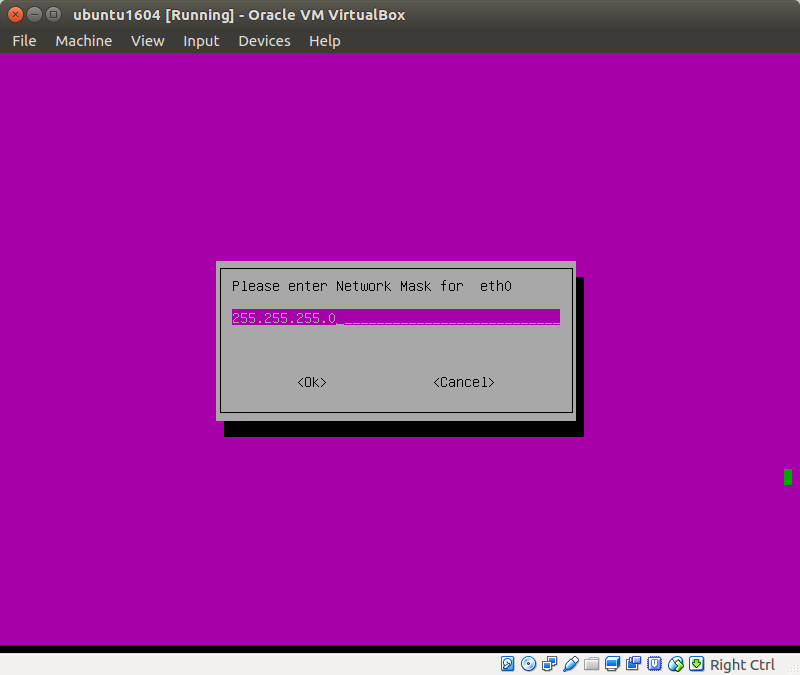
Give SSH settings…
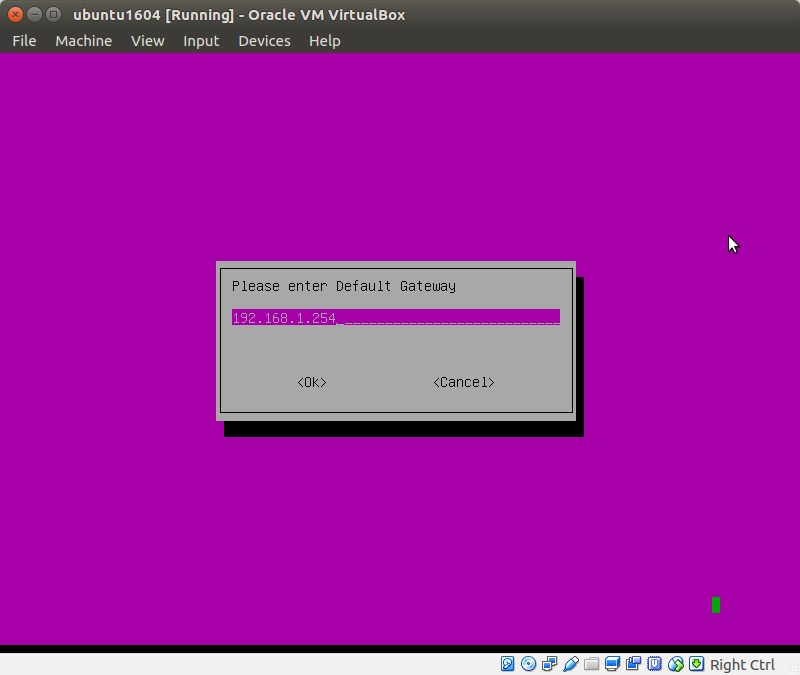
Give SSH settings…
Give SSH settings…(here the IP of the host machine)
Give SSH settings…
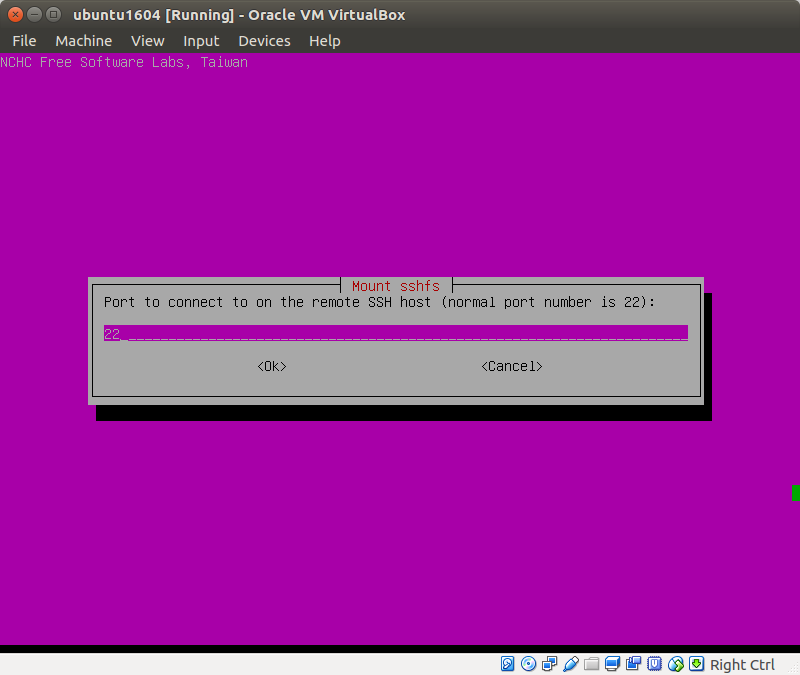
Give SSH settings…
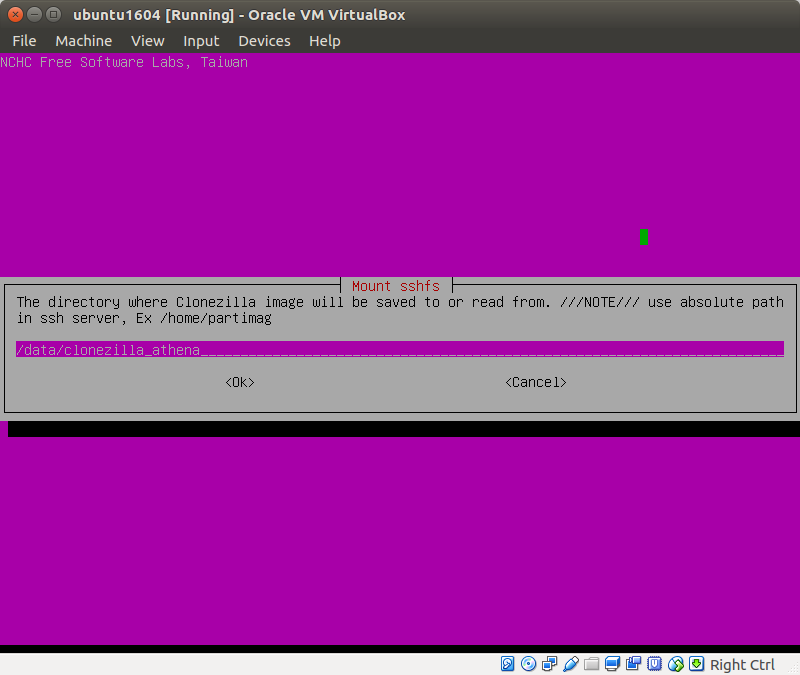
Give the directory where saved images are located
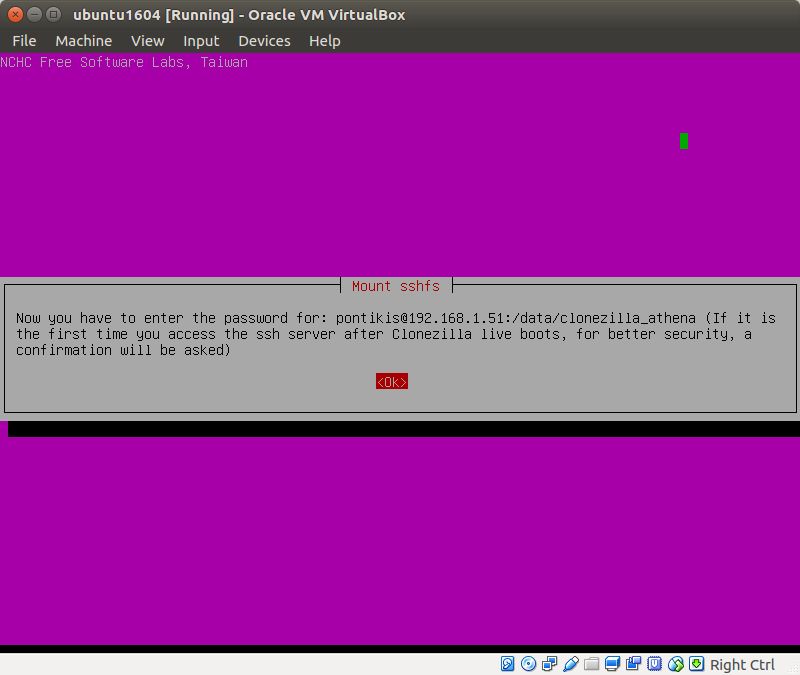
Give SSH password
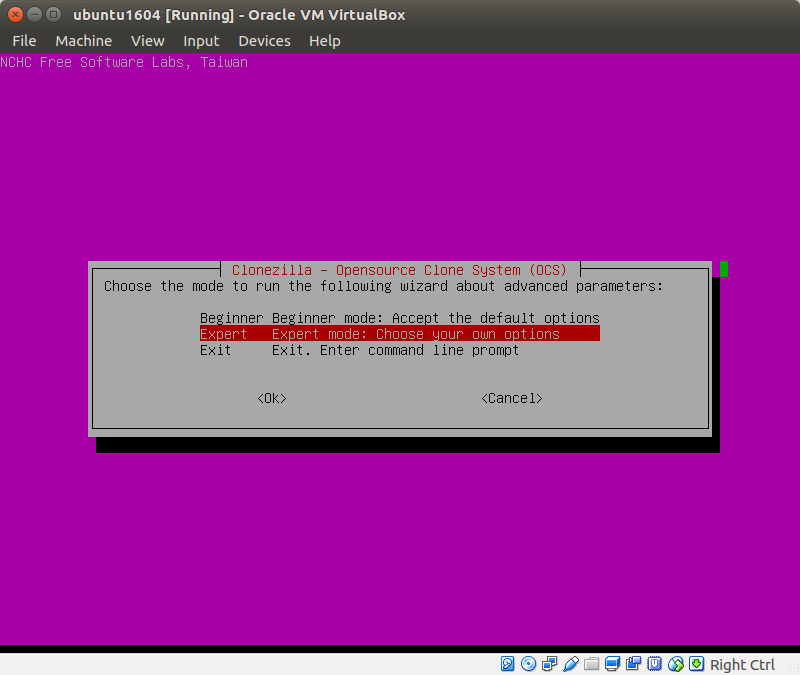
Select expert mode
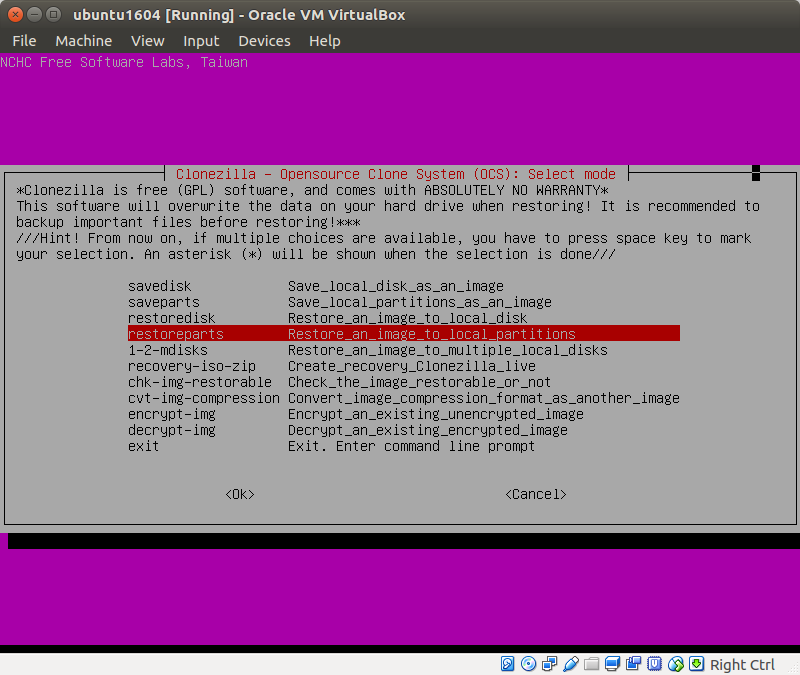
Select restoreparts
After SSH connection, select the folder where the image is located
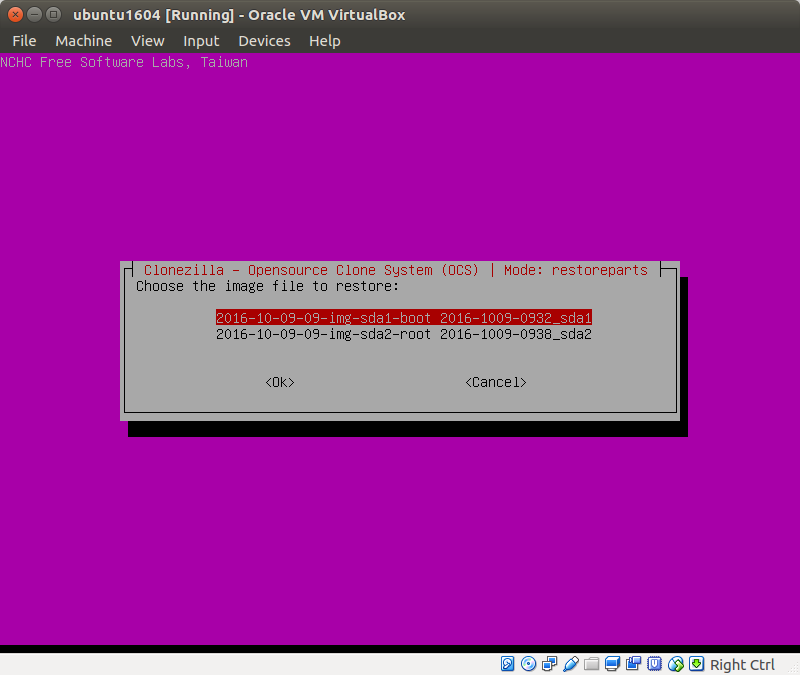
Choose the partition image to restore
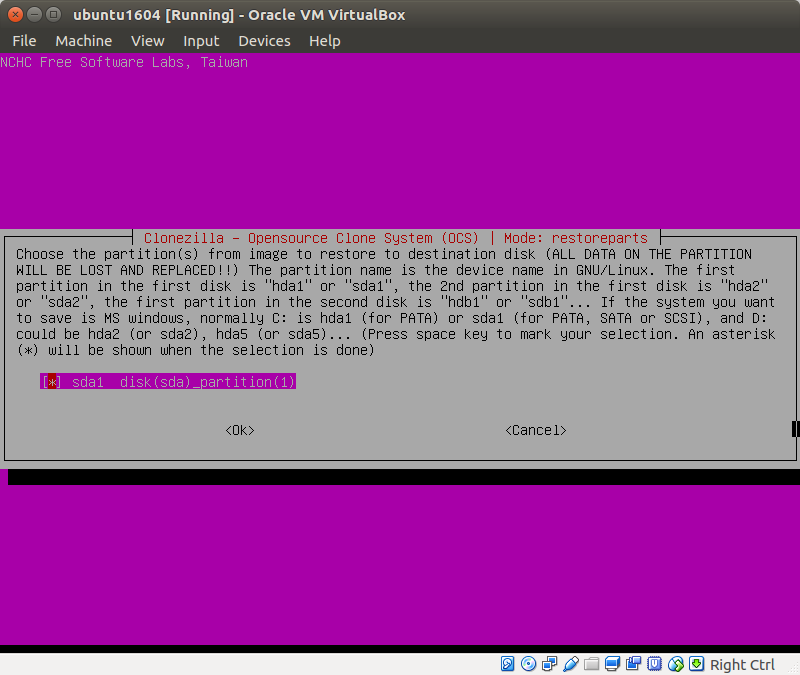
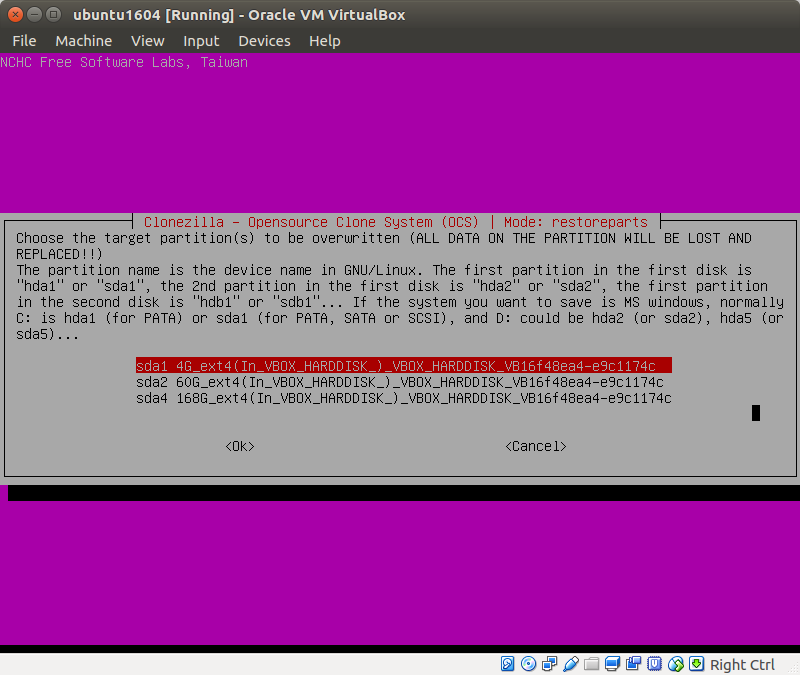
Choose the target partition to be overwritten (ATTENTION!)
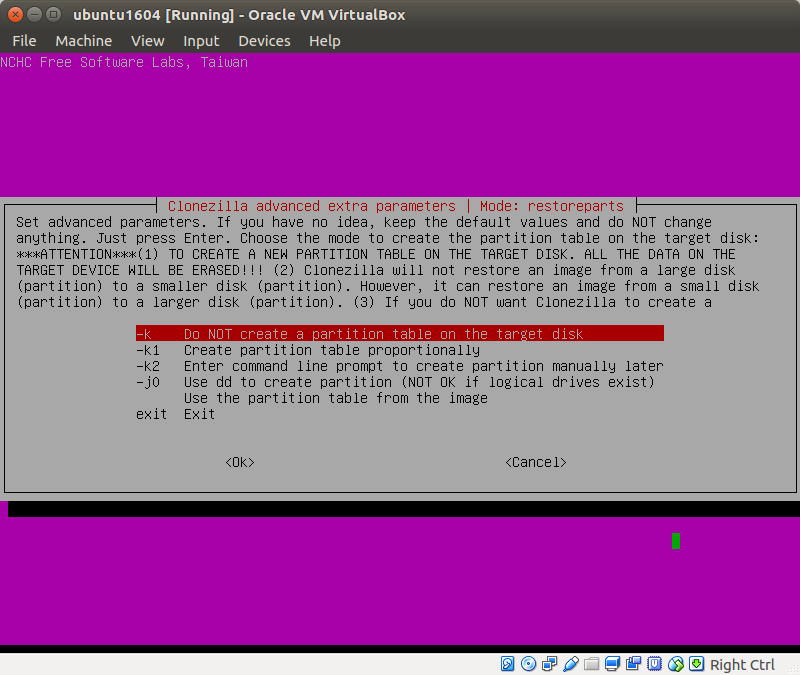
Set advanced parameters (I have already created a partition table in virtual machine – otherwise first option would be necessary -g install Grub…)
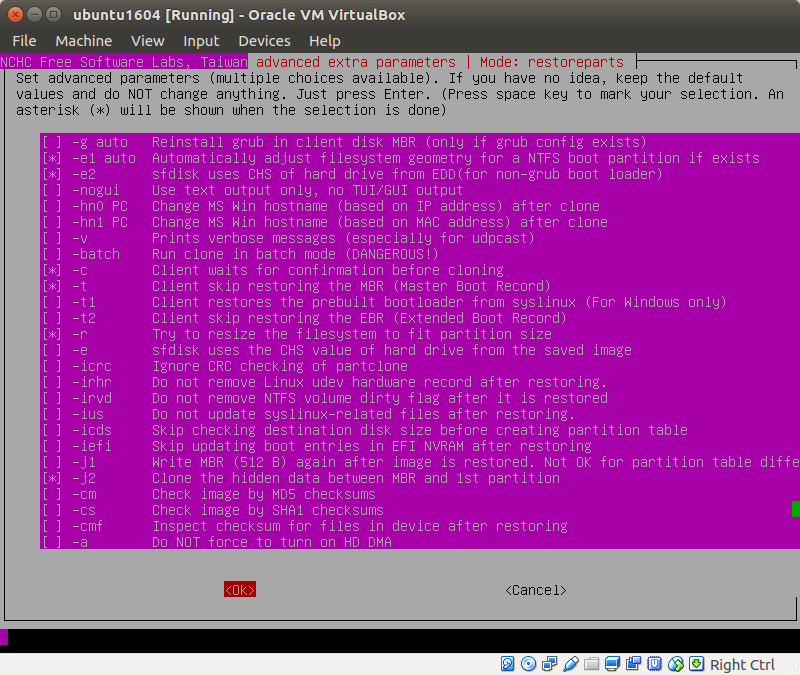
Set advanced parameters (I have already created a partition table in virtual machine)
Select Yes, check the image before restoring

First option here…
Just continue…
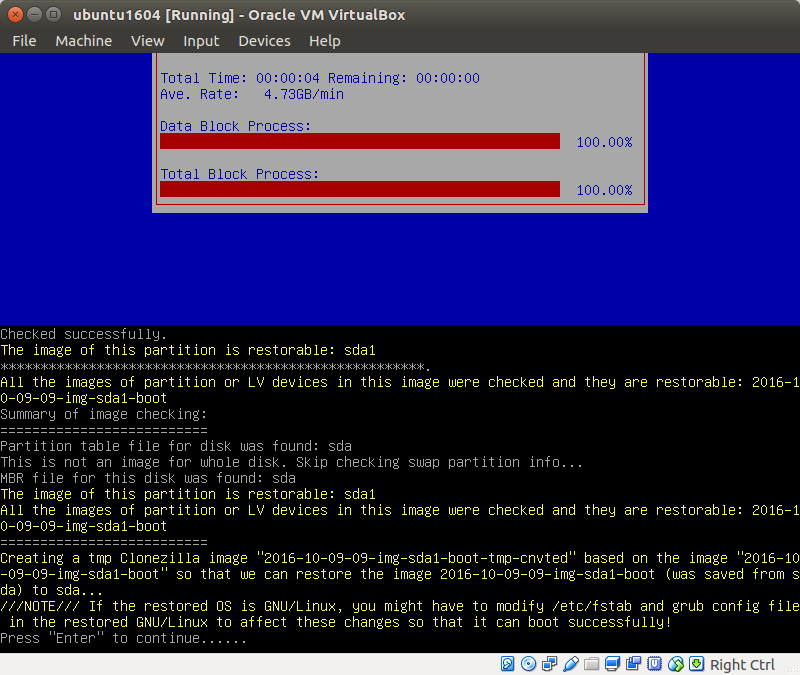
Just continue…
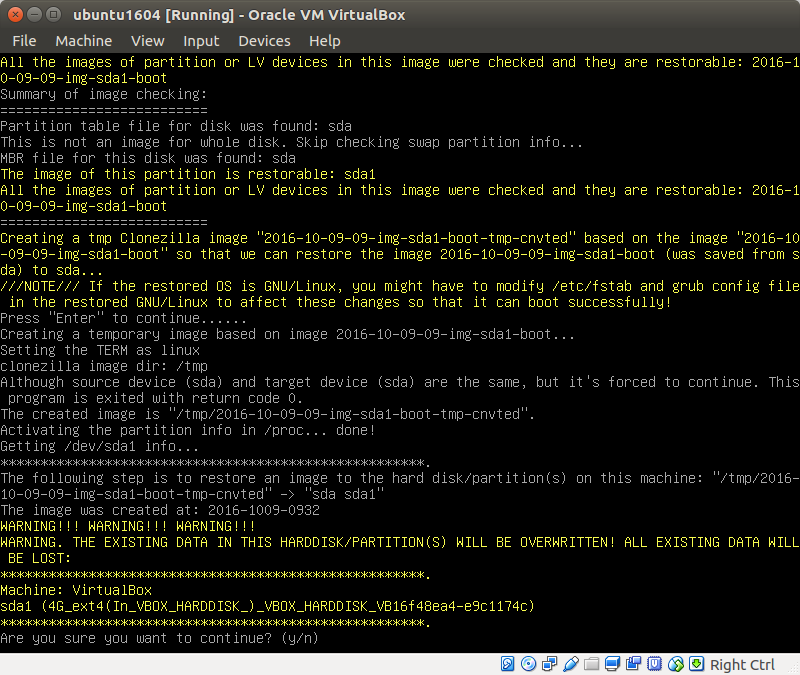
Just continue…

Your partition image is restored successfully!
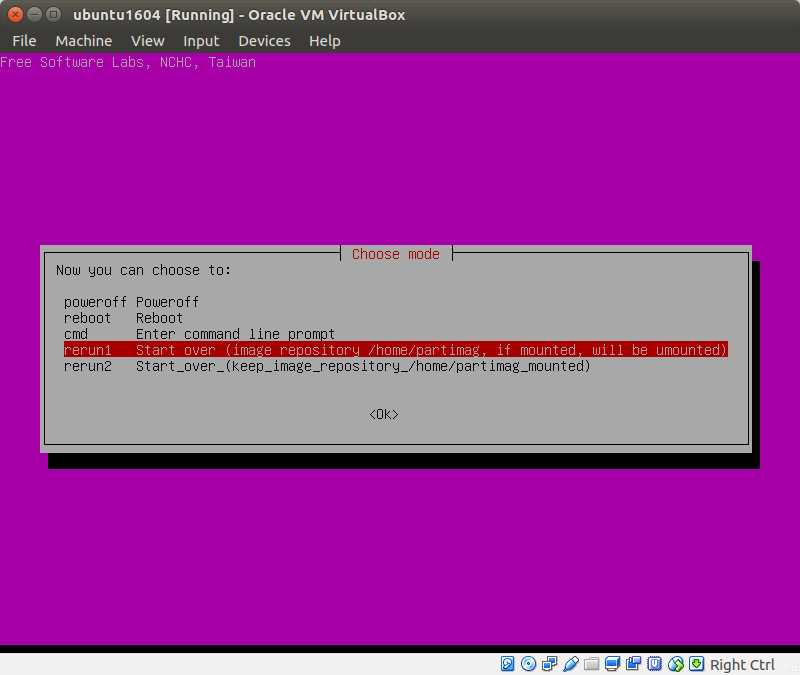
Select Start_over to repeat this procedure for other partitions you want to restore (if any)
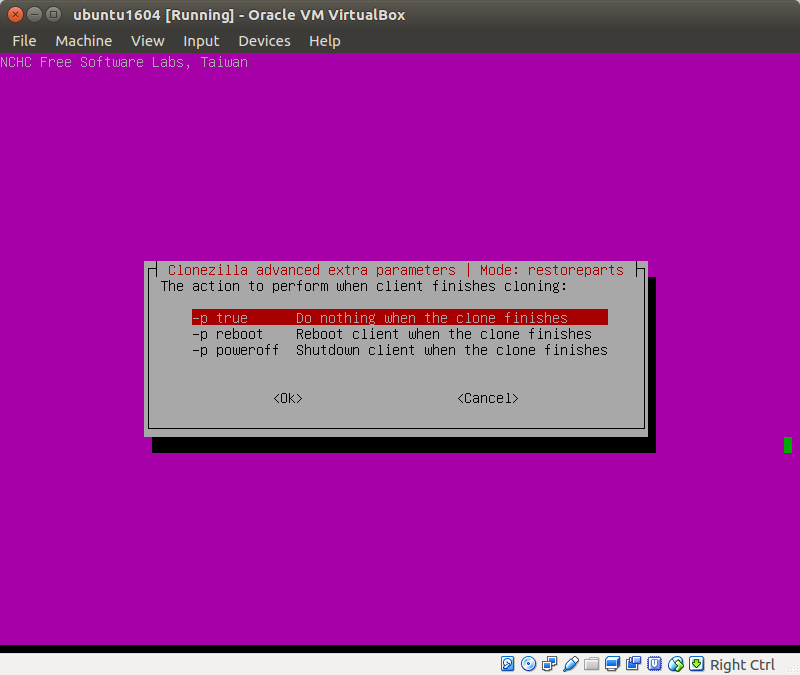
When everything is done, select Poweroff
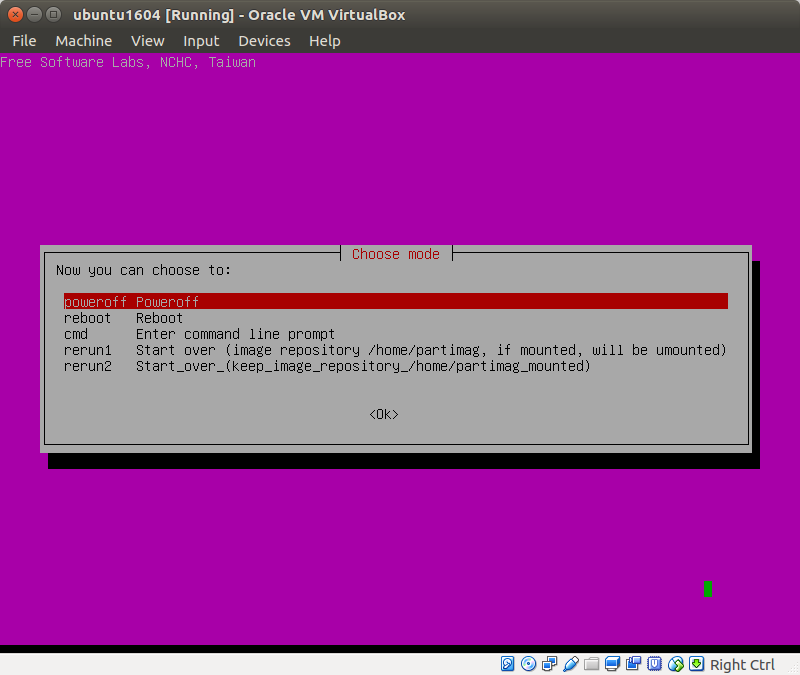
After reboot the machine where you have restored your partition images you should have a fully functional computer! Good luck!
Entrepreneur | Full-stack developer | Founder of MediSign Ltd. I have over 15 years of professional experience designing and developing web applications. I am also very experienced in managing (web) projects.